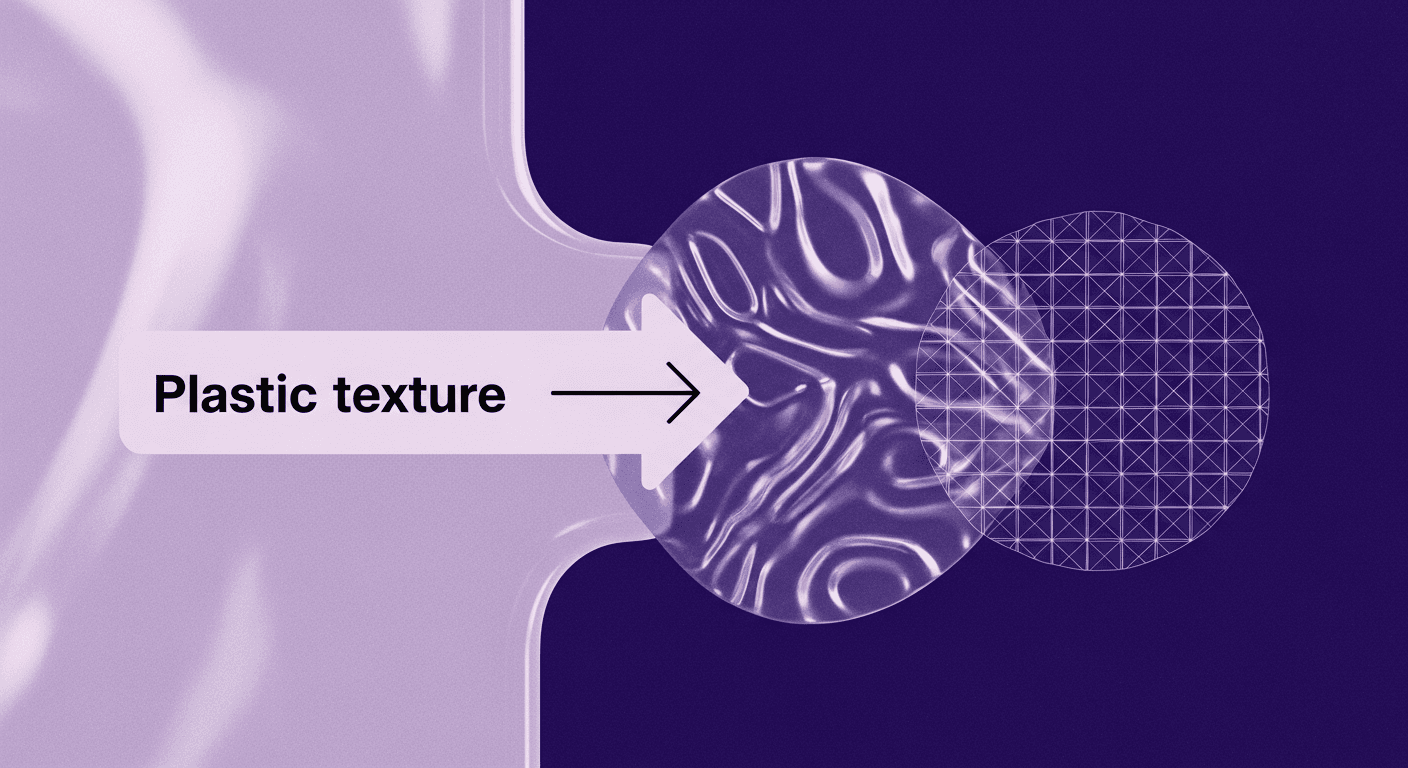
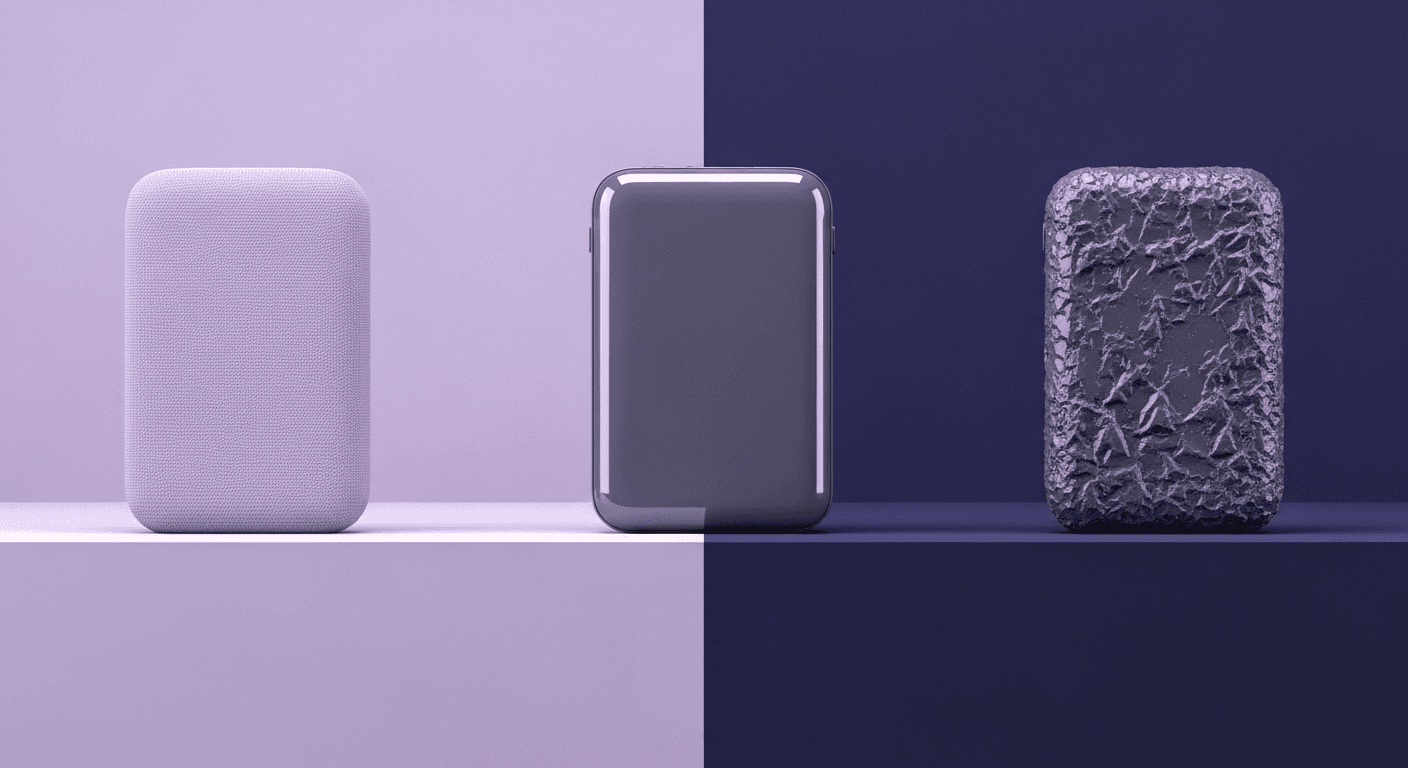
Decode Plastic Material Texture: The Team Language That Prevents Costly Manufacturing Mistakes
By Mira Kapoor | 17 November 2025 | 14 mins read
Table of contents
Table of Contents
When designing with plastic materials, your team keeps using the word texture, but it’s clear everyone means something different. Marketing wants less glare, engineering is already thinking about draft angles, and you’re just trying to translate an abstract feeling like premium or rugged into something a machine can produce. In this guide, we’ll unpack what plastic material texture actually is, moving beyond simple surface patterns to give you a clear, shared language for your entire team. Getting this right isn't just about avoiding miscommunication; it’s about closing the expensive gap between your design intent and the final manufactured part, ensuring the product that lands in a user's hands feels exactly the way you envisioned it.

What is plastic material texture? (beyond the mold)
Most designers think of plastic material texture as the last step, a surface finish applied from a mold. They’re right, but that’s like saying a book is just paper and ink. It misses the entire story.
Texture isn’t a simple finish. It’s a language. And getting it right means the difference between a product that feels cheap and one that feels premium, or a tool that’s a joy to use versus one that’s a liability. To really nail your design intent, you need to move beyond seeing texture as a pattern and start treating it as a core material property.
Defining texture: More than just a surface finish
To build a reliable communication pipeline between design, engineering, and manufacturing, we must break down the abstract concept of texture into three concrete, measurable layers. Understanding these layers is key to translating your aesthetic vision into a precise technical specification.
- Pattern: This is the most obvious layer, the visual design you see. It can be a geometric grid, an organic leather grain, or a simple stipple. The pattern is what’s drawn in a CAD file or etched into a tool. But it's only one piece of the puzzle.
- Tactility: This is what the user feels. It’s the grip of a power tool, the smooth glide of a finger over a laptop case, or the soft-touch finish on a remote control. Tactility is the handshake of your product. It’s a purely physical, human experience that a 2D rendering can never fully capture. A pattern can be identical, but a change in the underlying material or molding process can make one feel grippy and the other slick.
- Surface roughness: Now we get microscopic. Surface roughness refers to the fine-scale peaks and valleys on the plastic’s surface, measured in microns. This is what determines how light interacts with the material. A high degree of roughness scatters light, creating a matte or satin finish. A very low roughness creates a mirror-like gloss. It’s the invisible foundation that controls the entire visual character of your product, turning a simple black plastic into something that looks deep, rich, and intentional.
The role of texture in industrial design communication
So, why does this level of detail matter? Because precision in language prevents costly mistakes down the line. When you can clearly differentiate your intent, we need a fine, linear pattern with low surface roughness for a satin look, but it needs to deliver enough tactility for a secure grip, you close the gap between your vision and the final manufactured part. You stop talking in vague terms like “a nice matte finish” and start providing actionable specifications. This clarity saves time, reduces prototype iterations, and ensures the product that comes off the assembly line is the one you actually designed. Now that we’ve established what texture truly is, let’s unpack what it does for your product.
How texture impacts plastic material performance and perception
Thinking of texture as mere decoration is one of the most common and costly mistakes in product design. It’s a functional workhorse that solves engineering problems, enhances usability, and tells a powerful story about your brand. When you choose a texture, you're making a decision that impacts everything from the product's lifespan to its perceived value in the hands of a user.
Moving beyond aesthetics: The functional role of surface texture in plastics
Texture does far more than just look good. It's an integral part of the product's performance, often solving problems that would otherwise require changes to the core material or geometry.
- Improving grip, ergonomics, and usability: This is the most intuitive function. Think about the handle of a high-performance power drill. The aggressive, rubber-overmolded texture isn’t just for show; it provides critical grip and vibration dampening, ensuring safety and reducing user fatigue. A smooth, glossy handle would be cheaper to produce but practically useless and dangerous. The right texture transforms the product from an object into a functional extension of the user’s hand.
- Enhancing durability by hiding scratches and wear: Glossy plastics look fantastic on day one. By day ten, they're a mess of fingerprints and micro-scratches. This is where a well-chosen texture shines. A light, matte texture on a piece of luggage, a car’s interior door panel, or an office printer is a deliberate choice to preserve the product’s appearance over time. The subtle pattern breaks up the surface, making minor scuffs and wear invisible to the naked eye. This design choice telegraphs durability and keeps the product looking new, extending its perceived life.
- Manipulating light reflection and diffusion for visual effect: Texture is your primary tool for controlling how a product interacts with light. On a car dashboard, a matte texture is non-negotiable it diffuses sunlight to prevent dangerous glare that could distract the driver. Conversely, the high-gloss black plastics on a premium coffee machine are designed to create sharp, defined reflections, signaling precision and quality. By specifying the surface roughness, you can dial in the exact visual character you want, from a soft, light-absorbing satin to a brilliant, eye-catching gloss.
The psychology of touch: How texture communicates quality
Before a user ever powers on your device, they’ve already made a judgment about it. The moment they touch it, the texture is communicating. Is it solid and reliable, or flimsy and cheap? This tactile feedback is immediate and powerful.
- Associating specific textures with brand identity: Texture is a core part of your brand’s DNA. Think of the rugged, almost industrial texture on a Pelican case, it screams toughness and reliability. Now, contrast that with the impossibly smooth, soft-touch finish on a high-end electronic device, which communicates luxury and precision. These textures aren't accidental; they are carefully curated to reinforce the brand promise. They build a consistent tactile experience that users come to associate with your products.
- How users perceive value based on surface feel: Two products can be made from the exact same polymer, but a subtle difference in texture can make one feel significantly more valuable. A fine, consistently molded texture with no visible defects feels expensive. It suggests a high level of quality control and investment in tooling. In contrast, a plastic part with uneven gloss, flow lines, or a generic, uninspired texture feels like a corner was cut. The user’s hands can detect quality or the lack of it in an instant. Now that we understand the deep impact of texture, let's explore how to bring it to life.
Bridging design and manufacturing: Common plastic surface finishing techniques
Your brilliant texture concept is worthless if it can’t be manufactured consistently and cost-effectively. Bridging the gap between your design software and the factory floor requires a practical understanding of how textures are actually made. The method you choose directly influences the final look, feel, and cost of your product.
An overview of texture creation methods
While there are many ways to finish a plastic part, most textures are created directly in the injection mold. This ensures the texture is an integral part of the piece, not just a coating that can peel or scratch off.
- Mold texturing (the big three): This is where the magic happens, directly on the steel surface of the mold.
- Chemical etching: This is the traditional, craft-driven approach. An acid-resistant pattern is applied to the mold surface, and the tool is submerged in acid, which eats away at the exposed steel. It’s an art form that excels at creating natural, organic patterns like leather, wood, and stone. However, it can be less precise for geometric patterns and may have slight variations from tool to tool.
- Laser texturing: For ultimate precision, nothing beats a 5-axis laser. A high-powered laser ablates the steel surface of the mold layer by layer, directly from a 3D digital file. This allows for incredibly complex, multi-layered textures, perfect geometries, and guaranteed repeatability. You can create effects like a brushed metal pattern overlaid with a soft matte finish, impossible with other methods. It’s the go-to for premium electronics and automotive components.
- EDM (electrical discharge machining): Often used for creating standardized matte finishes, EDM uses an electrical spark to erode the surface of the mold. The result is a consistent, non-directional texture. Many of the standard texture plaques, like those for the VDI scale, are created using this method. It's a reliable workhorse for achieving specific levels of gloss and roughness.
- In-mold decoration and labeling (IMD/IML): This technique places a pre-printed film or label inside the mold before injecting the plastic. The plastic then fuses with the film, embedding the graphics and finish permanently into the part. It's a highly efficient way to apply complex, multi-color graphics or specialized finishes like brushed metal or carbon fiber effects in a single step.
- Post-processing techniques: Sometimes, the desired finish can't be achieved in-mold. Techniques like painting, soft-touch coatings, and printing are applied after the part is molded. While they offer immense flexibility, they add steps, cost, and potential failure points (like peeling or scratching) to the manufacturing process.
Material texture design considerations for manufacturing
Your texture doesn't exist in a vacuum. It's deeply intertwined with the material you choose and the physical geometry of your part. Ignoring these constraints is a recipe for defects and production delays.
- How material choice affects texture outcomes: Not all plastics are created equal. A soft, flexible material like Polypropylene (PP) has poor flow characteristics and won’t capture the fine, sharp details of an intricate texture. Harder, more rigid amorphous plastics like ABS or Polycarbonate (PC) flow into the mold more easily, allowing them to replicate even the most subtle, high-fidelity textures. You must match the complexity of your texture to the capabilities of your material.
- Designing for draft angles and texture depth: This is a classic point of friction between design and engineering. Every molded part needs a slight taper, known as a draft angle, so it can be ejected from the mold without getting stuck or scraped. A textured surface acts like microscopic Velcro. The deeper and sharper the texture, the more draft is required to ensure a clean release. A common rule of thumb is to add an extra 1 to 1.5 degrees of draft for every 0.001 inches (0.025mm) of texture depth. Designing for this early prevents a costly mold redesign later.
A strategic framework for choosing the right plastic texture
Making the right texture choice shouldn't be a shot in the dark. It’s a strategic decision that balances aesthetics, function, and manufacturing reality. By creating a clear framework for specification and communication, you can eliminate ambiguity and ensure your design intent is perfectly executed.
How to specify and communicate your design intent
“A light, premium matte” is not a technical specification. To get predictable results from any supplier in the world, you need to speak the universal language of manufacturing standards. This is how you move from subjective feedback to objective instructions.
- Using texture plaques and standards (e.g., VDI, Mold-Tech): These are your most powerful communication tools. Standards like VDI 3400 (a German engineering standard for EDM finishes) or the Mold-Tech (M-T) pattern books provide a numbered system for specific textures. When you specify “VDI 27” or “MT-11010,” you are referencing a known, physical standard. There is no room for misinterpretation. Always insist on getting physical texture plaques in your chosen material and color. A rendering on a calibrated monitor is no substitute for holding a sample in your hand, feeling its tactility, and seeing how it plays with real-world light.
- Translating abstract concepts into actionable manufacturing surface treatment specifications: The goal is to build a complete spec sheet. Start with your abstract goal (e.g., “a soft, non-glare finish for an automotive interior”). Then, translate it into concrete terms:
- Pattern: Mold-Tech MT-11020
- Material: ABS
- Color: Pantone Cool Gray 11 C
- Gloss level: 10 GU @ 60°
- Draft requirement: Minimum 3 degrees on all textured surfaces
This level of detail leaves nothing to chance and makes you a hero to the engineering and manufacturing teams.
Balancing the tradeoffs: Aesthetics, function, and cost
Every design decision is a balance. Texture is no different. A beautiful, complex texture might be perfect aesthetically, but too expensive to produce or functionally inappropriate for the product’s use case.
- A checklist for selecting the optimal texture for your product: Before you fall in love with a texture, run it through this simple filter:
- What is its primary function? Is it for grip, scratch resistance, or light diffusion? The function should guide the selection. An aggressive texture on a part that needs to be cleaned often is a poor choice.
- What is the brand story? Does the texture align with the product’s identity? Is it luxury, rugged, minimalist, or playful? The texture should feel like it belongs.
- What are the manufacturing constraints? What material are you using? What is the part's geometry like? Can you accommodate the required draft angle for the texture you want?
- What is the real cost? Consider the entire picture. A complex laser texture adds significant upfront tooling cost. Post-process coatings add to the per-unit cost and can introduce quality control issues. Is the benefit worth the expense?
- How early texture decisions impact tooling costs and lead times: Here's the bottom line: texture is not a cosmetic detail you can tweak at the end. It is machined directly into the hardened steel of the injection mold. Changing your mind about a texture after the tool is cut can be incredibly expensive and may even require building a whole new mold, delaying your project by weeks or months. Making texture a core consideration from the earliest stages of concept development saves money, reduces headaches, and ultimately results in a better product.
Making texture your strategic advantage
So, let's go back to the start of that conversation where marketing, engineering, and design are all using the word texture but speaking different languages. That conversation is over.
You now have a shared vocabulary. Pattern, tactility, surface roughness. It's more than just a list of terms; it's your toolkit for translating a feeling into a specification. Texture stops being a last-minute finish and becomes a strategic lever you can pull, right alongside form, color, and material.
This is how you lead the discussion. You’re no longer just defending an aesthetic, you’re explaining how VDI 27 is critical for reducing glare, or how a specific Mold-Tech pattern on an ABS part telegraphs durability. You become the bridge between the user’s hand and the engineer’s steel mold.
And that clarity? That’s your shortcut to fewer prototypes, faster approvals, and products that don't just look right, they feel right. You’re not just designing an object. You’re crafting an experience, and now you have the tools to get it right, every single time.

Mira Kapoor
Mira leads marketing at Texturly, combining creative intuition with data-savvy strategy. With a background in design and a decade of experience shaping stories for creative tech brands, Mira brings the perfect blend of strategy and soul to every campaign. She believes great marketing isn’t about selling—it’s about sparking curiosity and building community.
Latest Blogs

How 4K Seamless Textures Transform Flat CG Into Tangible Fabric
PBR textures
Fabric textures

Max Calder
Nov 21, 2025

Beyond Color and Gloss: How Plastic Texture Tells Your Product's ...
Product rendering
Texture creation

Max Calder
Nov 19, 2025

Build Unity 3D Texture Atlas Workflows That Actually Ship
3D textures
Texture creation

Max Calder
Nov 14, 2025
