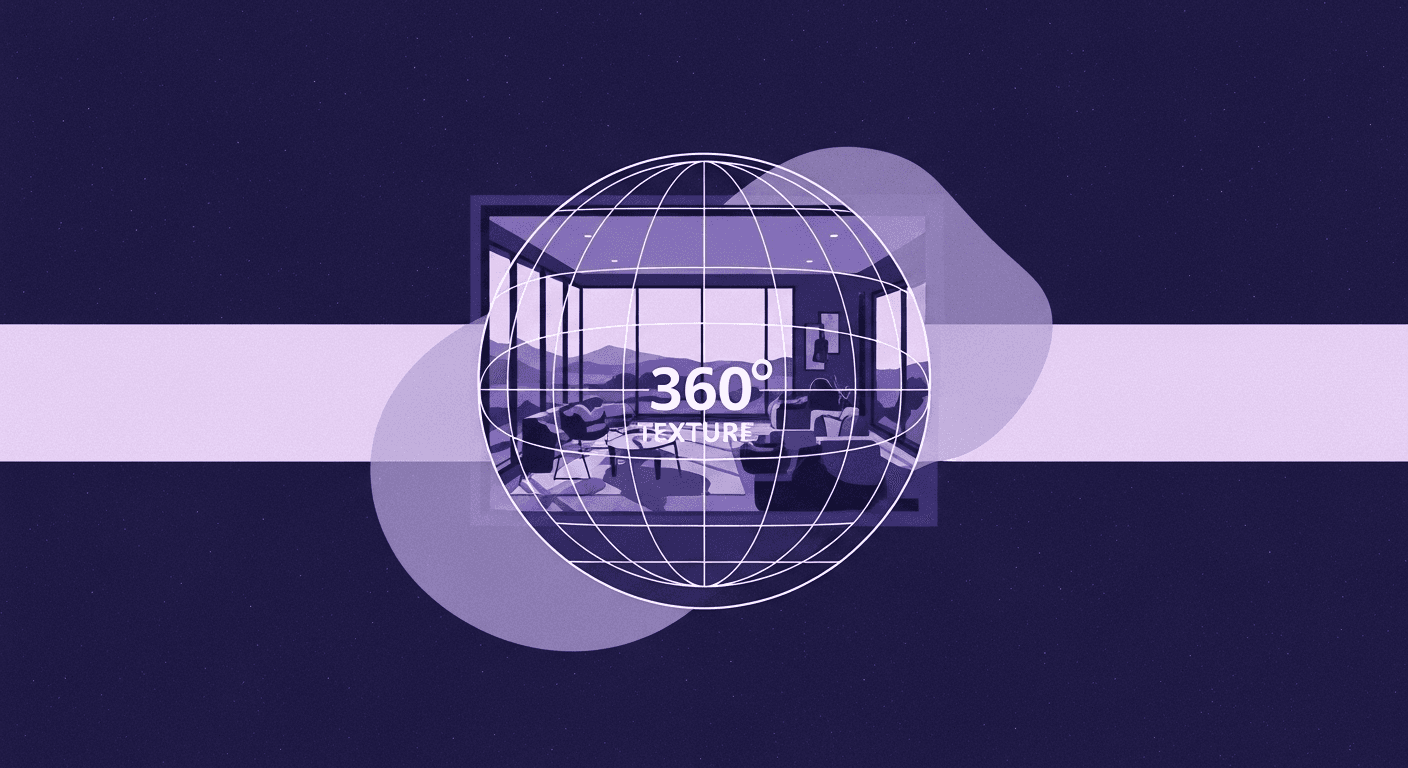
360 Environment Textures: The Complete Technical Pipeline
By Max Calder | 22 October 2025 | 16 mins read
Table of contents
Table of Contents
You’ve spent weeks polishing every interactive asset and character model. But when you put on the headset, the world still feels a little… hollow. Like a beautiful stage set instead of a place you can actually step into. Sound familiar? This is where we move beyond the old-school skybox. In this deep dive, we’ll unpack the entire workflow for creating 360 environment textures that don’t just fill the space, but actually breathe life into it, making your virtual worlds genuinely believable. Getting this right is the difference between an experience that's just cool and one that's unforgettable—it’s about building a solid foundation for your team’s creativity and finally nailing that sense of presence that keeps players coming back.

What exactly are 360 environment textures?
We’re not just talking about pretty backdrops. For years, game development has relied on skyboxes, which are essentially cubes with images slapped on the inside to create the illusion of a world beyond the playable area. They do the job, but in virtual reality, just doing the job isn’t good enough. A skybox is a static picture; a true 360 environment texture is a foundational element of the world itself.
Going beyond a simple backdrop: The function of immersive textures
A skybox is like a painted matte in a classic film; it’s convincing from one angle, but the moment you try to interact with it or view it from a new perspective, the illusion shatters. 360 environment textures are different. They are high-resolution, panoramic images often captured with specialized cameras or meticulously crafted by artists, that are mapped to the inside of a sphere surrounding the player. This creates a seamless, distortion-free world that feels genuinely expansive.
But the real distinction lies in their function. A skybox is just for looking. An immersive environment texture, however, is deeply integrated into the scene’s lighting, mood, and sense of scale. It’s not just a picture of a sky; it’s the source of ambient light, the origin of reflections you see on a puddle, and the visual anchor that makes the interactive space feel like it belongs to a larger universe. It’s the difference between looking at a photograph of a forest and standing in a clearing, feeling the canopy overhead.
This is where virtual reality visual fidelity becomes non-negotiable. In VR, the player’s brain is a hyper-sensitive lie detector. It’s constantly scanning for inconsistencies, a blurry texture, a mismatched shadow, a pixelated horizon. When it finds one, the sense of presence, that magical feeling of being truly there, evaporates instantly. Low-resolution skyboxes are one of the fastest ways to break that presence. High-fidelity 360 textures are crucial because they provide the rich, consistent visual data the brain needs to accept the virtual world as a plausible reality.
The impact on the player: How textures shape immersive experiences
Ever wonder why some VR experiences feel more real than others, even if the graphics aren’t photorealistic? The answer often lies in the environment. There’s a powerful psychological link between environmental detail and player presence. Our brains are wired to process subtle visual cues from our surroundings to feel grounded and safe. A well-crafted 360 texture provides these cues in abundance.
The way light from the texture diffuses across a surface, the imperceptible grain on a distant mountain, the consistent scale of clouds in the sky, these details tell your subconscious that the world is stable, expansive, and real. This isn't just about making things look pretty. It’s about building trust with the player's brain. When the environment feels right, players feel more comfortable, more willing to explore, and more deeply immersed in the narrative or gameplay.
We’ve seen this work brilliantly across the industry. Think of Half-Life: Alyx. The breathtaking vistas of City 17 aren’t just backdrops; they are oppressive, awe-inspiring environments that inform the entire mood of the game. The textures sell the scale of the Citadel and the decay of the city, making the world feel tangible and lived-in. On the other end of the spectrum, consider a stylized game like Beat Saber. Its abstract, neon-drenched environments aren’t realistic, but they are cohesive and reactive. The 360-degree visuals pulse with the music, creating a powerful synesthetic link that is core to the experience. In both cases, the environment isn't just a container for the gameplay, it is the experience.
The core workflow: How are 360 environment textures created?
So, you’re sold on the why. But how do you actually build one of these immersive worlds? The process is a blend of artistry and technical precision, a pipeline that transforms a flat image into a sphere of believable reality. It’s not black magic, but it does require a specific workflow to get right.
Unpacking the pipeline: From concept to in-engine asset
Creating a 360 environment texture generally follows three key stages. Getting any of them wrong can compromise the final result, so understanding the whole journey is critical.
Stage 1: Capturing or creating the panoramic source image
This is your starting point, and you have two primary paths: capturing the real world or creating one from scratch.
- Photogrammetry & HDRI capture: This approach uses specialized camera rigs to capture a series of high-dynamic-range (HDR) photos from a single point, covering a full 360-degree view. The goal is to capture not just color information, but also the full range of light intensity in the scene. This data is invaluable for creating realistic lighting and reflections in your game engine. It’s the fast track to photorealism, but it comes with challenges: finding the perfect location, dealing with weather, and the meticulous process of cleaning up unwanted artifacts like people, cars, or the tripod itself.
- Digital painting & 3D rendering: When you need a fantastical alien landscape or a scene that simply doesn't exist, you turn to digital creation. Artists can paint equirectangular images from scratch in tools like Photoshop or create a full 3D scene in Blender, Maya, or V-Ray and render out a panoramic camera view. This route offers complete creative control over every element: the sky, the lighting, the mood, but it demands significant artistic skill and time to achieve a high level of quality. It’s less about capturing reality and more about authoring it.
Stage 2: Stitching, cleanup, and creating seamless loops
Once you have your source images, the real technical work begins. If you used a camera, you’ll need software like PTGui or Hugin to stitch the individual photos into a single, seamless equirectangular panorama. This process can introduce errors, so you’ll spend a good amount of time in Photoshop painting out seams, correcting distortions at the top (zenith) and bottom (nadir) of the image, and removing any unwanted elements you couldn’t avoid during the shoot.
This is also where you ensure the texture is perfectly seamless. If the left and right edges of your image don’t match up perfectly, you’ll see a jarring vertical line in your virtual world. It takes a careful hand with tools like the clone stamp and content-aware fill to create a texture that wraps around the player without a single visible seam.
Stage 3: Texture mapping in VR and game engines
With a clean, seamless panoramic texture ready, the final step is to bring it into your game engine, like Unity or Unreal Engine. This is where texture mapping in VR happens. The 2D equirectangular image is applied to the inside of a giant sphere or a sky dome that encompasses your entire scene. The engine’s shader handles the projection, wrapping the flat texture into a convincing 3D vista. You’ll need to make sure the texture is set up correctly, often as a cubemap or with specific spherical mapping settings, and that its HDR lighting information is being used by the engine to illuminate the rest of your scene. This final step is what connects the environment to the gameplay, making everything feel like it exists in the same, cohesive space.
Techniques for improving texture immersion in virtual reality
A technically correct texture is just the start. To make it truly immersive, you need to employ a few extra techniques that trick the player’s brain into seeing depth, detail, and life.
- Best practices for lighting and shadow baking: Your 360 texture is your primary source of ambient light. To make the scene feel grounded, the lighting from your texture must align with the real-time lighting in your game. A common and highly effective technique is to bake lighting information. This means pre-calculating complex lighting effects like global illumination and soft shadows, and saving them into the textures of your static objects. When the baked shadows on the ground perfectly match the soft light coming from the clouds in your 360 sky, the brain accepts the entire scene as a single, cohesive reality.
- Adding parallax and depth with normal and displacement maps: A flat image, no matter how high-res, will always look flat up close. To create the illusion of depth and surface detail, we use additional texture maps. Normal maps are a low-cost way to simulate fine details like bumps, cracks, or grooves without adding any extra geometry. They manipulate the way light reflects off a surface, tricking the eye into seeing detail that isn’t really there. For even more pronounced depth, you can use displacement maps, which actually push and pull the vertices of the 3D model. This is more performance-intensive but can create incredibly realistic effects, like cobblestones that have actual depth or rocky terrain that feels genuinely uneven.
- Balancing detail with performance for a smooth user experience: In VR, performance is king. A high frame rate (ideally 90 FPS or more) is essential to avoid motion sickness and maintain immersion. An uncompressed 16K HDR texture can eat up hundreds of megabytes of memory and tank performance, especially on standalone headsets. The key is to find the right balance. Use texture compression formats like ASTC, which offer high quality at a fraction of the memory cost. Employ mipmapping, a technique where the engine uses lower-resolution versions of the texture for objects that are far away. You don’t need every pixel of a 16K texture to render a mountain that’s miles in the distance. Smart optimization ensures the experience is both beautiful and butter-smooth.
Making it real: What makes a texture truly immersive?
A technically perfect workflow can produce a high-resolution, seamless 360-degree texture that still feels… off. Lifeless. That’s because true immersion isn’t just about pixels; it’s about perception. It’s about understanding how the human brain interprets a virtual world and using that knowledge to build an unbreakable illusion.
The science of perception in virtual environments
Your brain is a masterful pattern-recognition machine. It has spent your entire life learning the subtle rules of the physical world. In VR, it's constantly checking to see if those rules apply. Immersion happens when the answer is consistently “yes.”
- How the human eye interprets scale, distance, and material properties: We judge scale based on familiar objects. If a tree in your 360 texture is the same apparent size as a nearby interactive object that the player knows is small, the sense of distance is shattered. The scale of elements in your environment, clouds, mountains, and buildings must be consistent and believable. Similarly, we instinctively know what wet pavement or rough stone should look like. Your texture’s material properties, conveyed through its roughness, specularity, and color, must align with those expectations. When a surface that looks like metal reflects light like plastic, the brain flags it as fake.
- The role of consistency in maintaining the illusion of reality: This is the golden rule. Consistency is everything. The lighting direction in your 360 texture must perfectly match the direction of the primary light source in your interactive scene. The color temperature of the sky, the warm orange of a sunset, or the cool blue of midday must influence the color of the light hitting every object in the game. The art style of the background must match the foreground. Any break in this consistency, no matter how small, creates a cognitive dissonance that yanks the player out of the experience. It’s the subtle art of ensuring every visual element is telling the same story.
From photorealism to stylized art: Best practices for 360 environment texture design
Immersion doesn’t always mean photorealism. A stylized world can be just as immersive as a photorealistic one, as long as it’s cohesive and follows its own internal logic. The right approach depends entirely on your project’s goals.
- Case Study 1: Achieving hyper-realism for simulation and training
Imagine a flight simulator for training pilots or an architectural walkthrough for a multi-million dollar client. In these scenarios, the goal is an exact 1:1 match with reality. The best practice here is to lean heavily on high-fidelity photogrammetry and HDRI capture. You’re not just capturing colors; you’re capturing precise lighting data that allows for physically accurate rendering. The workflow is meticulous, focused on perfect stitching, artifact removal, and color calibration to ensure the virtual environment is an identical twin of the real one. The challenge isn’t creative expression, but technical perfection. Success is measured by how indistinguishable the simulation is from a photograph. - Case Study 2: Creating a cohesive, stylized world for fantasy games
Now, think about a fantasy RPG set on an alien planet with two suns and purple grass. Photogrammetry won’t help you here. The goal is not to replicate reality, but to create a new one that is internally consistent and artistically compelling. The best practice shifts to digital painting and procedural generation with tools like Substance Designer. Here, the artist has complete control to establish a unique visual language. Do the clouds have a painterly, Ghibli-esque feel? Then the distant mountains and trees in the texture must share that same style. The lighting might be unnatural, but it must be consistent. Immersion comes from the strength and cohesion of the art direction, convincing the player to believe in this world, even if it’s nothing like their own.
Navigating the hurdles: Technical considerations and challenges
Creating stunning, immersive 360 environments sounds great in theory. But as any seasoned developer knows, the path from concept to reality is paved with technical hurdles. This is where things often go wrong. Knowing the common pitfalls is the first step to avoiding them.
Common bottlenecks in panoramic environment creation
If you’re not careful, your ambitious vision for an epic backdrop can quickly turn into a performance nightmare or a visual mess. Here are the usual suspects:
- Managing massive file sizes and texture resolutions: A high-quality 8K or 16K HDR texture can be hundreds of megabytes. For a PC VR title, that might be manageable. For a standalone headset like the Meta Quest, where memory and storage are severely limited, it’s a non-starter. This is the single biggest bottleneck for many teams. The solution lies in aggressive but intelligent optimization. Don’t just use any compression; use the right format for your target platform (like ASTC for mobile). And be realistic about your needs. Does that sky really need to be 16K, or can you get away with 8K and clever shader work? Every megabyte counts.
- Avoiding visual artifacts like seams, distortion, and blurriness: Nothing screams this is a game louder than a glaring visual bug in the environment. The most common artifact is the dreaded seam, a vertical line where the left and right edges of the texture meet. This is usually solved with careful cloning and painting in Photoshop. Another major issue is pinching and distortion at the zenith (the very top) and nadir (the very bottom) of the spherical projection. A poorly handled tripod removal can leave a blurry mess at the player’s feet. The best practice is to always work at a higher resolution than your final target and to pay special attention to these pole areas during the cleanup phase. Finally, blurriness often comes from using a low-quality source image and trying to upscale it. Always start with the highest quality source possible.
Future-proofing your workflow: Emerging virtual reality texture techniques
The technology in this space is moving fast. The workflows we use today might look antiquated in a few years. Keeping an eye on emerging techniques is key to staying ahead and building more dynamic and believable worlds.
- The rise of AI-powered texture generation and enhancement: Artificial intelligence is no longer just a buzzword; it’s becoming a powerful creative partner. AI tools are emerging that can upscale low-resolution textures with shocking clarity, remove artifacts automatically, or even generate entirely new, stylized skies from a simple text prompt. Imagine being able to type “epic sunset over a cyberpunk city with volumetric clouds” and getting a high-quality, seamless 360 texture in minutes. This technology can massively accelerate the concepting and creation process, freeing up artists to focus on refinement and integration rather than manual labor.
- Dynamic textures that react to in-game events or player actions: Who says your 360 environment has to be static? The next frontier is dynamic textures. Think of a sky that realistically transitions from day to night, with clouds that move and evolve. Or a backdrop of a city where lights in the windows turn on as evening falls. This can be achieved with complex shaders that blend multiple textures or even run procedural weather simulations. These living environments can react to in-game events a distant volcano erupting after the player completes a quest, or storm clouds gathering as a major battle approaches. This transforms the environment from a static backdrop into a living, breathing character in your world, taking immersion to a whole new level.
Beyond the backdrop: It’s your world now
So, we’ve moved way past the simple skybox. We’ve unpacked the entire pipeline, from capturing a panoramic image to wrestling with it inside a game engine. But the real takeaway isn’t just a list of techniques, it’s a new way of thinking.
Your 360 environment texture isn’t the final coat of paint; it’s the foundational canvas for the entire experience. It’s the silent character that sets the mood, tells a story with light, and gives your interactive world a universe to belong to. It’s the difference between building a room and building a reality.
You’re now equipped with the playbook to do just that. You know how to balance photorealism with performance, how to use lighting to ground your scene, and how to maintain that fragile illusion of presence that VR lives and dies by.
So take these workflows, tweak them, and make them your own. The goal is no longer just to fill the empty space behind the action. It’s to build a world so cohesive and believable, your players forget where the stage ends and the universe begins. You’ve got this.

Max Calder
Max Calder is a creative technologist at Texturly. He specializes in material workflows, lighting, and rendering, but what drives him is enhancing creative workflows using technology. Whether he's writing about shader logic or exploring the art behind great textures, Max brings a thoughtful, hands-on perspective shaped by years in the industry. His favorite kind of learning? Collaborative, curious, and always rooted in real-world projects.
Latest Blogs

DIY Textile Texture Techniques That Make Digital Designs Come Ali...
Fabric textures
Texture creation

Max Calder
Dec 8, 2025

Cost vs. Quality: A Decision Framework for PBR Textures
PBR textures
3D textures

Mira Kapoor
Dec 5, 2025

From Faking Light to Simulating Physics: PBR vs Traditional Mater...
PBR textures
3D textures

Max Calder
Dec 3, 2025
