Why Your Gorgeous Fabric Textures Look Flat And How to Fix It
By Max Calder | 14 August 2025 | 16 mins read
Table of contents
Table of Contents
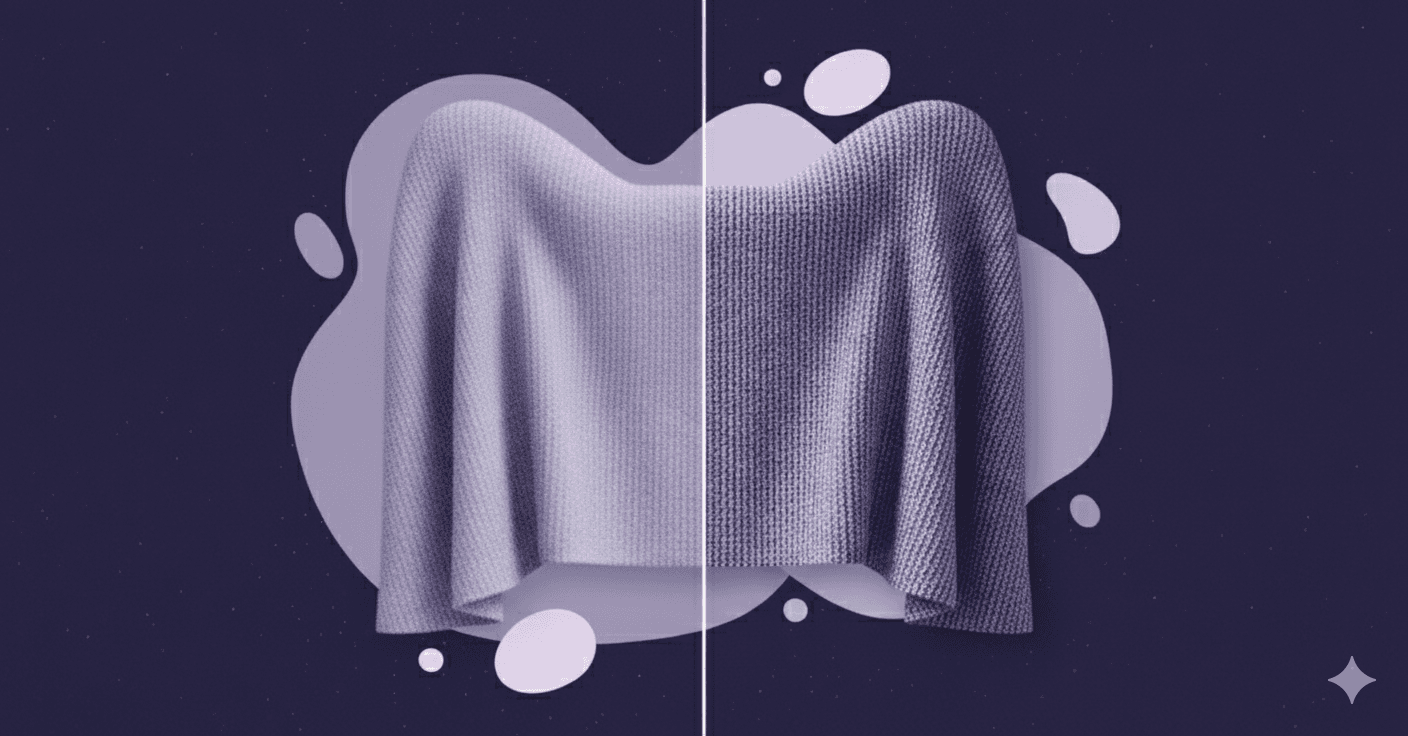
You’ve sourced the perfect seamless HD fabric texture. You’ve draped your garment flawlessly in CLO3D. You hit render, grab a coffee, and come back to find… It’s still chugging along. That sinking feeling when the final image looks flat, blurry, or nothing like the gorgeous material you started with? We've all been there. This guide is the practical playbook to fix that for good. We’re going to unpack a complete workflow for optimizing your PBR fabric textures, not just making them smaller, but making them smarter so you can finally achieve that perfect balance between breathtaking quality and the render speed you actually need. Forget generic tips; we're focusing on the specific techniques that matter for 3D apparel, building a streamlined pipeline that ensures your materials look incredible everywhere, from your first design pass in CLO3D to your final interactive showcase in Unreal Engine.

Lay the foundation: What optimized really means
You’ve spent hours perfecting a garment in CLO3D, you’ve sourced what you thought were incredible textures, but when you hit render… It’s slow. Or worse, the fabric looks flat, blurry, or just plain wrong. The culprit is almost always a lack of optimization. But “optimization” isn’t just about making files smaller, it’s about making them smarter. It’s a workflow that balances breathtaking quality with the speed you need to actually get work done. Let’s unpack what that really looks like, starting from the ground up.
Start with the right source material: high-quality seamless HD fabric textures
This is the golden rule of any creative work, and it’s especially true for 3D textures: Garbage In, Garbage Out (GIGO). You can’t optimize a low-quality texture into a masterpiece. If your source file is a blurry, poorly lit, non-seamless 512x512 JPEG, no amount of technical wizardry in Unreal Engine or Blender will save it. The battle for quality is won or lost right at the beginning.
Your starting point should always be the highest quality source you can get your hands on. We're talking about meticulously crafted, high-resolution seamless HD fabric textures. A great source texture has a few key traits:
- High resolution: It’s captured with professional equipment, preserving every intricate weave and fiber detail.
- Even lighting: It’s shot in a controlled environment to remove shadows and highlights. This gives you a clean Albedo (color) map, which is the foundation for realistic PBR materials.
- Perfectly seamless: It tiles flawlessly in every direction. You shouldn't see any repeating patterns or visible seams when it’s applied to a large surface. This is non-negotiable for apparel design, where a single pattern piece can be quite large.
Think of your source texture like high-quality organic ingredients for a gourmet meal. Starting with the best gives you the flexibility to prepare it perfectly for your final dish or in our case, your final render. Starting with a poor source is like trying to make a five-star meal with wilted lettuce. You’re fighting a losing battle from the start.
Master texture resolution management for efficiency
Once you have a great source, the first decision is resolution. Do you need that massive 8K texture for every single piece of your design? Almost certainly not. Using oversized textures everywhere is one of the fastest ways to grind your render times to a halt.
Here’s a practical way to think about the 2K vs. 4K vs. 8K trade-off:
- 2K (2048x2048): This is your workhorse. It’s perfect for the vast majority of assets in a scene. Think denim jeans, cotton t-shirts, or any fabric that won’t be seen in an extreme close-up. It provides a great balance of detail and performance.
- 4K (4096x4096): Reserve this for your “hero” assets. This is the resolution for the main garment in a close-up shot, a detailed embroidery pattern, or a complex weave like tweed that the camera will focus on. You get significantly more detail, but the memory footprint is four times larger than a 2K texture.
- 8K (8192x8192): Use this very sparingly. An 8K texture is for extreme situations, think a super-detailed, macro shot of a fabric weave for a print ad, or a cinematic shot where the camera is inches from the fabric. For most apparel design workflows, it’s overkill and a performance killer.
Your job as a designer is to be a resource manager. Use just enough resolution to sell the shot and not a pixel more. A good rule of thumb is to consider the final screen space the object will occupy. A tiny button or a zipper pull? A 512px or 1K texture is likely more than enough. The main body of a coat that fills the screen? That’s a candidate for 2K or 4K. This strategic approach to texture resolution management is fundamental to an efficient pipeline.
Balance texel density for consistent visual quality
Ever rendered a garment where the collar looks razor-sharp but the sleeve is a blurry mess, even though they use the same fabric? That’s a texel density problem. In simple terms, texel density is the amount of texture resolution (pixels) applied to a given surface area of your 3D model. Think of it like DPI for print, but for your 3D assets.
Why does it matter so much? Consistency. When the texel density is uniform across your entire garment, every part of it will appear to have the same level of detail. A consistent texel density ensures that a 1-inch square of fabric on the cuff has roughly the same number of texture pixels as a 1-inch square on the back panel. This creates a cohesive, believable result.
In CLO3D, the software handles a lot of this for you when you apply a fabric, as it scales the texture based on real-world measurements. However, when you move to platforms like Unreal Engine or Blender, you have to be more deliberate. Unwrapping your UVs correctly is key. If you give a small part of the UV map (like a button) a huge amount of space and a large part (like the front of a shirt) a tiny amount of space, your texel density will be all over the place.
Most modern 3D tools have visualization modes to check texel density; they often display a colored checkerboard on your model. Your goal is to get those checkers to be as uniform in size as possible across the entire garment. Nailing this ensures your beautifully optimized textures look just as good in the final render as they did in your texture library.
The core workflow: Your fabric texture optimization playbook
Alright, you've got a solid foundation. You're starting with high-quality source files, and you understand how to choose the right resolution and manage texel density. Now, let’s get into the nitty-gritty of the workflow, the specific steps you'll take to prepare your textures for any rendering engine.
Choose the right file format for each PBR map
Not all texture maps are created equal, and they shouldn't be saved in the same file format. A PBR (Physically Based Rendering) material is a collection of different data maps working together, and each map has a different job. Choosing the right format ensures you preserve the necessary data without bloating your file sizes.
Here’s a quick-and-dirty guide for your PBR maps:
- Albedo/Diffuse (color map): This is your color information. A high-quality .PNG is often the best choice here. It offers lossless compression, meaning no quality is lost, and it supports an alpha channel if you need transparency (for lace or sheer fabrics). A high-quality .JPG can work in a pinch if file size is a major concern, but be mindful of compression artifacts that can muddy your colors.
- Normal/Roughness/Metallic/AO: These are data maps, not color maps. They contain precise grayscale or vector information that tells the render engine how light should interact with the surface. For these, you want to avoid compression artifacts at all costs. A single artifact in a normal map can create a visible dent or bump on your model. Stick to lossless formats like .PNG or .TGA. They preserve the data perfectly.
- Displacement/Height: This map physically pushes and pulls the geometry of your model, creating real depth and detail. Because it contains such critical height information, you need a format with a higher bit depth to avoid stepping or banding artifacts. For this, .EXR (32-bit) or .TIFF (16-bit) are the professional choices. They store a much wider range of values, resulting in smooth, accurate displacement.
Making these smart choices from the outset is a core part of effective fabric texture optimization. It prevents weird visual glitches and ensures your material behaves predictably.
Implement smart compression techniques without losing detail
Now let's talk compression. The goal is to reduce file size without sacrificing visual quality. There are two main flavors: lossless and lossy.
- Lossless compression (e.g., PNG, TGA RLE): Think of this like a ZIP file for your image. It finds clever ways to store the pixel data without throwing any of it away. When you open the file, it's reconstructed perfectly, identical to the original. This is what you must use for data-driven maps like Normal, Roughness, and Displacement.
- Lossy compression (e.g., JPG): This method reduces file size by selectively discarding image information that the human eye is less likely to notice. A little bit of lossy compression on an Albedo map is often acceptable. The organic nature of fabric can hide minor artifacts well. But crank the compression too high, and you'll see ugly blocking and color banding.
Here’s a pro tip for your workflow: Use lossy compression sparingly and strategically. It's a tool for your color maps when you're trying to hit a specific memory budget, especially for real-time applications like Unreal Engine. For everything else, stick to lossless to maintain data integrity.
Streamline your PBR texture rendering workflow
A messy folder full of files named texture_final_02_new.png is a recipe for disaster, especially when working in a team. A clean, organized, and streamlined 3D texture workflow will save you countless headaches.
First, adopt a strict naming convention. A great system tells you exactly what a texture is just from the file name. A good template is:
T_MaterialName_Resolution_MapType.format
For example:
T_CottonDenim_4K_Albedo.png
T_CottonDenim_4K_Normal.png
T_CottonDenim_4K_Roughness.png
This is instantly readable and makes managing your files a breeze.
Second, level up your efficiency with channel packing. Most render engines process textures in RGB channels. Maps like Roughness, Ambient Occlusion (AO), and Metallic are grayscale maps, meaning they only need one channel of data. So why use a full three-channel RGB file for each one? Channel packing lets you store three different grayscale maps in a single RGB texture file, one in the Red channel, one in the Green, and one in the Blue. This is a massive memory saver. A common setup is to pack AO, Roughness, and Metallic into one texture, often called an ORM map. Instead of loading three separate textures into memory, the engine only has to load one. It's a huge win for performance, especially in real-time engines.
Put it into practice: Cross-platform rendering strategies
Theory is great, but let's make it real. The way you optimize textures often depends on where they'll end up. The demands of a design visualization tool like CLO3D are different from a real-time game engine like Unreal. This is where you tailor your approach to the specific context, a key part of optimizing fabric textures for CLO3D and Unreal Engine.
Optimization isn't a one-size-fits-all solution. It's about making the right trade-offs for your specific goal. Are you still creating high-fidelity marketing? Or an interactive virtual showroom? The answer changes everything.
Configure textures for photorealism in CLO3D
In CLO3D, your primary goal is usually photorealistic visualization for design approval. Render time is a factor, but visual accuracy is king. Here, you can afford to use slightly higher-resolution textures and less aggressive compression because you're typically rendering a single garment, not an entire world.
Your focus in CLO should be on correctly setting up the material shaders. When you import your optimized PBR maps, make sure you’re plugging them into the right slots in the CLO material editor:
- Texture: This is for your Albedo (.PNG) map.
- Normal map: Plug in your Normal map here. Remember to use a format like .PNG to preserve the vector data.
- Roughness map: This controls the microsurface scattering. A clean, artifact-free Roughness map is crucial for getting the sheen of silk or the matte finish of cotton just right.
- Displacement map: For fabrics with significant height variation like a chunky knit or a thick tweed, using a high-bit-depth Displacement map (.EXR or .TIFF) will add that extra layer of convincing detail that a Normal map alone can't achieve.
Don't just drop the textures in and call it a day. Tweak the intensity sliders for the Normal and Displacement maps, and adjust the Roughness values to dial in the exact fabric response you're looking for. CLO's render preview is your best friend here, use it constantly to see how your changes affect the final look.
Set up textures for top render performance in Unreal Engine
When you move to a real-time engine like Unreal, the game changes. Now, performance is paramount. The engine needs to render everything at 60 frames per second or higher, so every texture counts. This is where your aggressive optimization really pays off.
Unreal Engine has powerful, built-in tools to help you manage this. Here’s what to focus on:
- Mipmaps: Unreal automatically generates mipmaps for your textures. These are pre-calculated, lower-resolution versions of your texture. The engine intelligently uses the higher-resolution mips when the object is close to the camera and swaps to lower-resolution ones as it moves further away. This is a fundamental technique for render performance and is enabled by default. Your job is to ensure you're importing textures with dimensions that are a power of two (e.g., 2048x2048, 4096x4096) to make this process as efficient as possible.
- Texture streaming: This system dynamically loads and unloads mipmap levels into memory based on what the camera can see. This means your project doesn't have to hold every single 4K texture in memory at once, which is a lifesaver for large scenes.
- Material instances: This is one of the most powerful features in Unreal for apparel designers. You create one master material for a fabric type (e.g., M_Fabric_Cotton). Then, you can create limitless “Material Instances” from it. Each instance can have different parameters—like a different Albedo texture for a new colorway, or a different Roughness value—without duplicating the underlying shader logic. This is an incredibly efficient way to manage dozens of fabric variations while keeping performance high.
Your channel-packed ORM texture (AO, Roughness, Metallic) becomes especially valuable here. In the Unreal material editor, you can simply drag off the R, G, and B pins of your single texture node and plug them into the corresponding inputs on your material. One texture read, three maps. It’s a massive efficiency gain.
Validate your results and finalize your workflow
You’ve done the work, you’ve followed the best practices, but how do you know it worked? The final step is to validate your optimization efforts and solidify this new process into your day-to-day workflow. Don’t just assume it’s better; prove it.
Test and compare render performance before and after optimization
Benchmarking is simpler than it sounds. You don’t need complex software; just a consistent methodology. Before you start optimizing, pick a representative scene or model and record a few key metrics:
- Render time: Render a single, specific frame at a fixed resolution. How long does it take?
- Memory usage: Look at your 3D application's memory statistics or your computer’s task manager. How much VRAM (video memory) and RAM is the scene using?
Now, implement your optimizations, swap to more efficient file formats, down-res textures where appropriate, and set up channel-packed maps. Render the exact same frame again and check the new metrics. You should see a tangible improvement. Maybe your render time dropped by 30%, or your VRAM usage was cut in half. These numbers are confirmation that your workflow is not just theoretically better, but practically more effective. This data gives you the confidence to apply these techniques to every project.
Avoid these common digital fabric modeling mistakes
As you refine your workflow, be on the lookout for a few common pitfalls that can trip up even experienced artists. Steering clear of these will keep your materials looking professional and predictable.
- Pitfall 1: Using the wrong color space for maps. This is a big one. Your Albedo (color) maps should be in the sRGB color space, which is how monitors display color. However, data maps like Roughness, Metallic, and Normal maps should be set to Linear color space. These maps contain mathematical data, not visual color, and they need to be interpreted by the render engine without any gamma correction. Most modern engines have a checkbox for sRGB on the texture import settings. Uncheck it for all non-color maps. Getting this wrong can completely throw off your lighting and material response.
- Pitfall 2: Over-complicating materials. It can be tempting to build a massive, complex shader with dozens of nodes to get a specific look. But often, a simpler material setup with high-quality textures works better. The best pipelines reduce decision-making, not increase it. Before you build a complex network, ask yourself if you can achieve the same effect directly in your texture maps. A well-authored Roughness map is often more powerful than a dozen shader nodes.
- Pitfall 3: Neglecting to test textures on a final, lit 3D model. A texture can look great in a flat preview window, but its true test is on a 3D model, under proper lighting. Always test your materials in a look-development scene with a variety of lighting conditions a soft studio setup, harsh direct sunlight, etc. This is how you spot issues with tiling, incorrect Roughness values, or a Normal map that’s too strong or too weak. The final context is the only one that truly matters.
Beyond the technical: Making optimization second nature
We’ve just unpacked a lot of technical details, texel density, channel packing, and color spaces. It’s easy to see this as just another checklist to get through. But the real goal here isn’t just to follow steps; it’s to build an instinct.
Think of optimization less like a chore you perform at the end of a project, and more like a chef sharpening their knives before they start cooking. It’s the foundational habit that makes everything that follows smoother, faster, and more creative.
Once this workflow becomes second nature, the technical details start to fade into the background. You’ll stop wrestling with render times and start spending that energy on what really matters: experimenting with one more fabric variation, dialing in the perfect lighting, or building out an entire collection for an interactive viewer. You’re no longer just a designer battling technical limitations; you’re an artist in full control of your digital medium.
The reward for this discipline isn’t just a faster pipeline. It’s creative freedom. You have the playbook. Now go build something incredible.

Max Calder
Max Calder is a creative technologist at Texturly. He specializes in material workflows, lighting, and rendering, but what drives him is enhancing creative workflows using technology. Whether he's writing about shader logic or exploring the art behind great textures, Max brings a thoughtful, hands-on perspective shaped by years in the industry. His favorite kind of learning? Collaborative, curious, and always rooted in real-world projects.
Latest Blogs

A Practical Guide for How to Choose The Right Concrete Texture fo...
3D textures
PBR textures

Mira Kapoor
Apr 29, 2026

VR Textures in Unreal Engine: A Beginner’s Guide to Setup, Optimi...
3D textures
AI in 3D design

Max Calder
Apr 27, 2026

360 Environment Textures vs Traditional Textures: Key Differences...
AI in 3D design
PBR mapping

Max Calder
Apr 24, 2026
