Master High-Resolution Seamless Fabric Texture Design
By Max Calder | 12 August 2025 | 13 mins read
Table of contents
Table of Contents
You’ve spent hours perfecting a garment’s silhouette in CLO3D, only to see the illusion shattered by a clumsy, visible seam running down the pattern. We’ve all been there, and it’s the kind of small detail that instantly separates amateur renders from professional-grade work. This guide is your playbook for mastering high-resolution seamless textures, not just how to fix seams, but how to build a powerful, custom library of assets that makes your work faster and your final product stunningly realistic. We’ll cover everything from classic Photoshop techniques to the smarter, faster world of procedural materials, giving you the practical skills to finally create digital fabrics that look, feel, and render just like the real thing.

Why high-resolution seamless textures matter
Nothing kills a beautiful 3D garment faster than a glaring, ugly seam where your fabric texture is supposed to repeat. You’ve spent hours perfecting the silhouette in CLO3D, and then a mismatched line runs right down the front of the shirt. It immediately breaks the illusion and screams digital. This is the core problem we're here to solve.
What makes a fabric texture truly seamless?
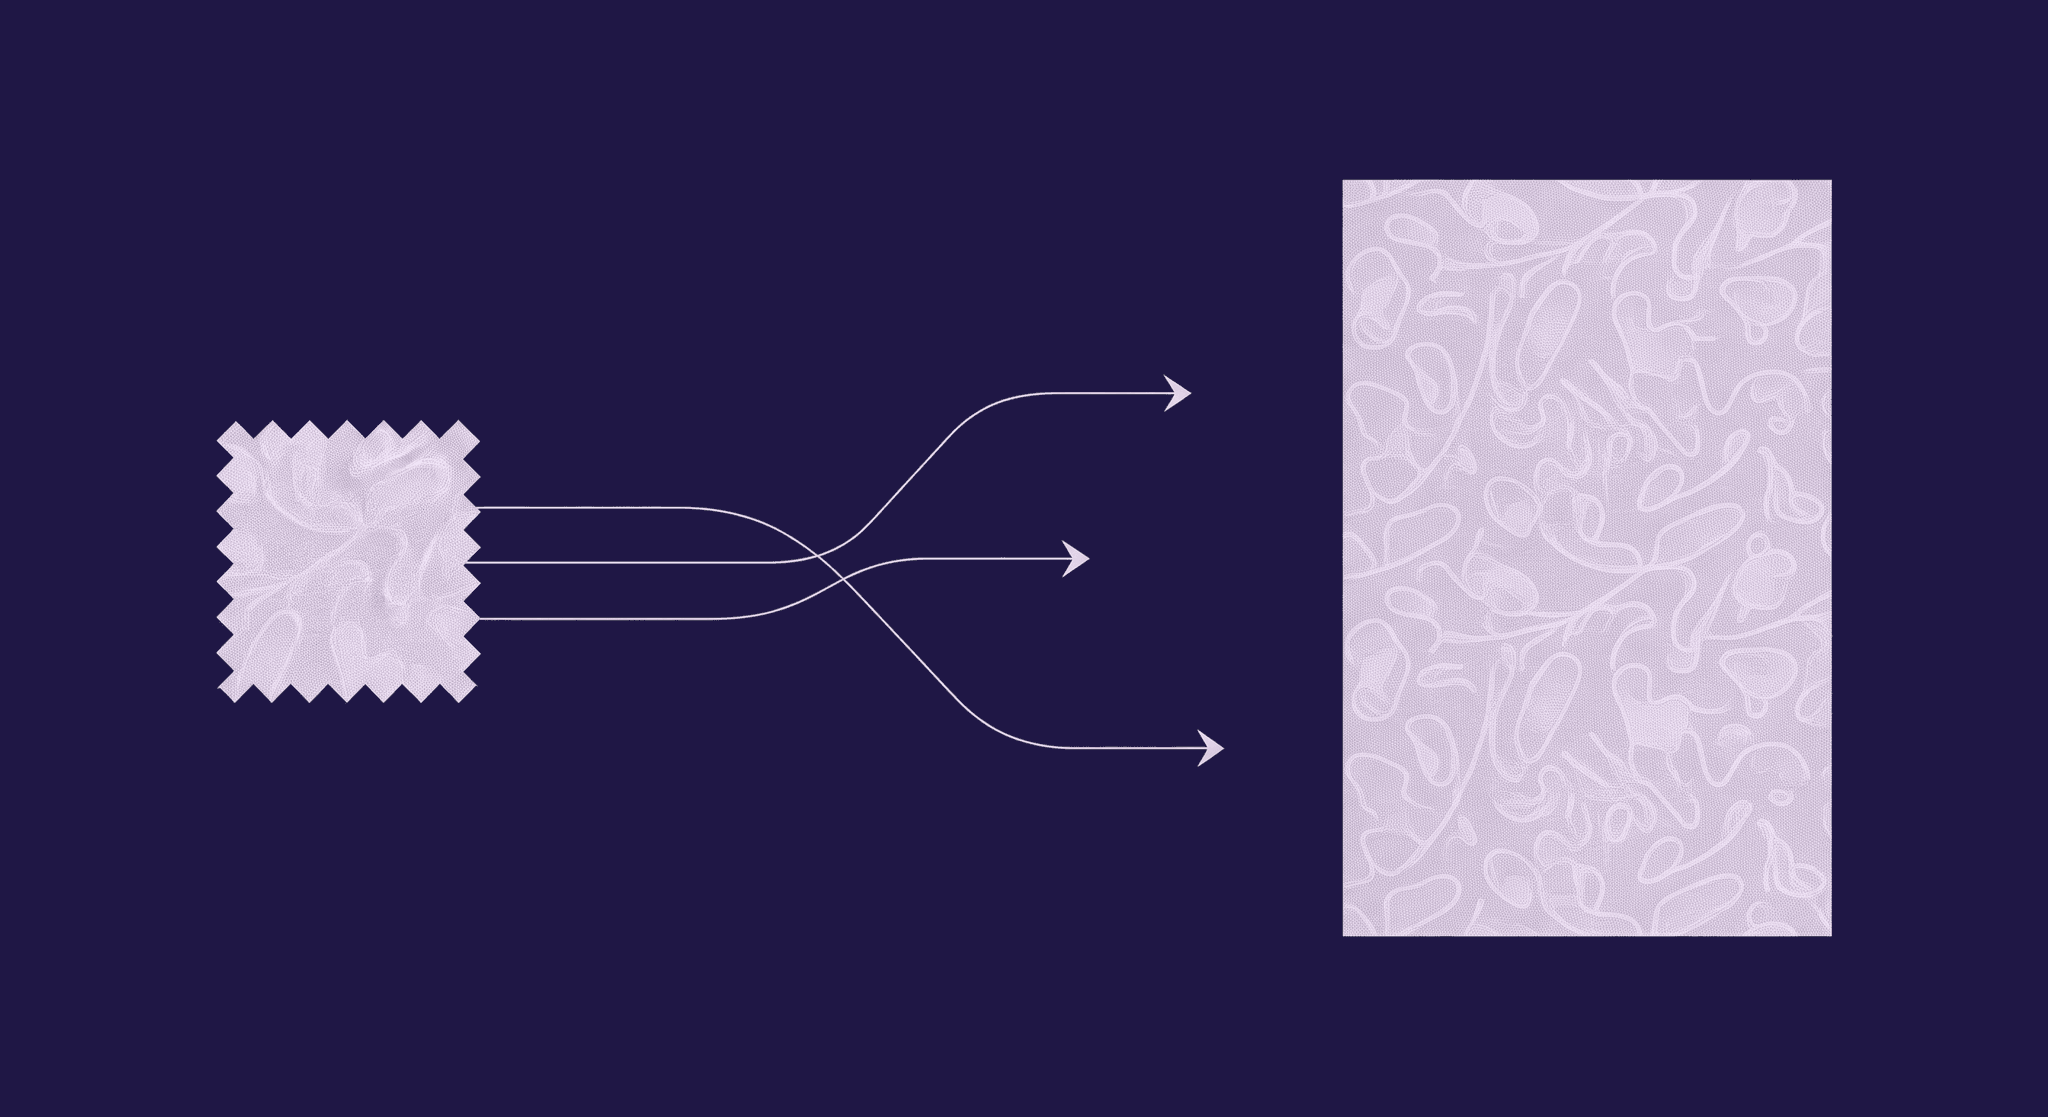
A texture is seamless when it can be tiled, placed side-by-side with itself over and over, without any visible edges or interruptions. Think of it like perfectly matched wallpaper. When it’s done right, you can’t tell where one sheet ends and the next begins. The pattern flows invisibly, creating the illusion of a single, continuous piece of fabric.
But getting this right is tricky. Most photos of fabric have natural variations in lighting and pattern that create hard edges when you try to tile them. A shadow on the left side of your image will create a dark vertical line when it meets the brighter right side of the copy next to it. These are the tiling errors and visual breaks that instantly shatter realism.
The goal isn’t just to avoid errors; it's to create a texture that your software can repeat infinitely across any UV map, no matter how complex the pattern piece. A truly seamless texture is a foundational asset that works for you, saving you from the headache of manually fixing breaks on every single garment piece.
How resolution and quality impact your digital fabric texture design
So you’ve made it seamless. But is it sharp? This is where resolution comes in. A high-resolution fabric texture seamless asset is your best friend for creating professional, convincing renders. The difference between a low-res and high-res texture is the difference between a blurry mockup and a crisp, photorealistic product shot.
Here’s what you need to focus on:
Pixels per inch (PPI) and detail: Think of PPI as the density of information in your texture. For wide shots of a full outfit, a lower resolution might pass. But for those crucial close-ups, the texture of a denim twill, the delicate weave of a linen shirt, the chunky cables of a knit sweater, high resolution is non-negotiable. A high PPI ensures that when the camera pushes in, the fabric still looks like fabric, not a pixelated suggestion of it.
Crisp renders vs. blurry finishes: In your workflow, you’re not just making clothes; you’re selling a vision. A high-resolution texture holds up under scrutiny. It allows light to interact with the material authentically, creating believable shadows and highlights on the yarns and fibers. A blurry texture turns everything flat and unconvincing, undermining the quality of your design work. Investing time in creating high-quality, seamless fabric textures is a direct investment in the final perceived value of your apparel.
Ultimately, mastering these two elements, seamlessness and resolution is what separates good 3D apparel design from great. It’s the first step to building a library of reliable, professional-grade assets that speed up your workflow and elevate your final product. Now, let’s get into how you can build these yourself.
The creator's playbook: Building your own textures
You don’t always have to rely on pre-made libraries. Building your own custom textures gives you complete creative control and ensures the material perfectly matches your vision. It's a skill that pays dividends. Here are two solid methods for getting it done.
How to create seamless fabric textures for 3D modeling
Whether you’re starting with a photograph or using specialized software, the goal is the same: make those edges disappear. Here are the two most effective routes.
Method 1: The Photoshop offset filter technique (the classic)
This is the tried-and-true manual method that gives you maximum control. It’s perfect for when you’ve taken a great photo of a unique fabric.
1. Prep your image: Open your fabric photo in Photoshop. The first step is to crop it into a perfect square. Use the Crop tool, hold down the Shift key, and select an area that’s representative of the overall texture, avoiding any major wrinkles or unique flaws for now.
2. Run the Offset Filter: Go to Filter > Other > Offset. This is the magic step. The filter shifts the image horizontally and vertically, moving the outer edges to the center of your canvas. You’ll immediately see the hard seams you need to fix.
3. Heal the seams: This is where the artistry comes in. Use the Clone Stamp Tool (S) or the Healing Brush Tool (J) to paint over the visible seams. Sample (Alt-click) from areas of the texture that are similar and carefully blend the lines away. The goal is to make the transition invisible.
4. Test and refine: Once you think you’re done, run the Offset filter again with different values to check for any other problem areas. You can also define it as a pattern (Edit > Define Pattern) and fill a larger canvas to test the tiling at scale.
Method 2: Using dedicated software like Texturly (The Fast Lane)
If your priority is speed and efficiency, dedicated tools are the way to go. Texturly: AI seamless texture generator is built for this.
- One-click tiling: You literally just drag your fabric photo into the application. Texturly’s AI-powered features analyze the image and automatically make it tileable. Its Tile Texture feature is incredibly effective and often gets you 90% of the way there in seconds.
- Material Generation: Sampler does more than just remove seams. It also generates the other essential texture maps like Normal, Roughness, and Ambient Occlusion, that you need for a truly realistic PBR material. This is a massive time-saver compared to creating them manually.
Best practices for high-resolution textile design
A great texture starts with a great source image. Following these best practices will ensure your raw materials are top-notch.
- Get your lighting right: Shoot your fabric in soft, diffused, even light. An overcast day is perfect because the clouds act as a giant softbox, eliminating the harsh shadows that are a nightmare to remove later. If you're shooting indoors, use two lights at 45-degree angles to the fabric to create a flat, even wash.
- Capture a clean, flat image: Use a tripod and position your camera perfectly parallel to the fabric surface. This prevents perspective distortion. Make sure the fabric is laid out as flat as possible, gently ironing or steaming it if needed to remove major wrinkles.
- Clean up, don't sterilize: In Photoshop, your goal is to remove distracting, non-repeating elements like lint, stray hairs, or a single dark thread. Use the Spot Healing Brush for this. However, be careful not to overdo it. You want to preserve the authentic details, the tiny slubs in linen, the subtle fuzz of wool. That’s the stuff that sells the realism. You’re cleaning the texture, not destroying its character.
By combining a great source image with the right creation technique, you can build a powerful library of digital fabric texture design assets that are ready for any project.
Where the magic happens: Applications in your workflow
Creating these assets is one thing, but plugging them into your daily workflow is where you’ll see the real payoff. A powerful texture library transforms how you approach design, from initial concepts to final client presentations.
Seamless fabric textures in 3D apparel design
For apparel designers using tools like CLO3D or Browzwear, high-quality seamless textures are a necessity, not a luxury. They directly impact speed and realism.
Case study: Applying a seamless knit texture in CLO3D
Imagine you're designing a chunky wool sweater. You’ve nailed the fit and silhouette, but applying a default, low-res knit texture makes it look flat and uninspired. The yarn has no dimension, and the lighting looks artificial.
Now, let’s swap that out. You import your custom high-resolution fabric texture seamless knit, complete with its corresponding Normal and Roughness maps. Here’s what happens:
1. Instant realism: The Normal map adds depth, making each cable and rib pop. Light now catches the edges of the yarn and casts tiny, believable shadows in the crevices. The render immediately goes from feeling like a CAD drawing to a convincing digital prototype.
2. Scale and grainline control: Because the texture is seamless, you can freely adjust its scale in CLO3D’s Property Editor without worrying about breaks. You can also rotate the grainline to match the pattern piece, a crucial step for fabrics like twill or corduroy and the texture flows perfectly.
3. Faster look development: This workflow dramatically speeds up look development. Instead of wrestling with a bad texture, you can iterate on colorways and fabric choices with confidence. Presenting this high-fidelity version to a client or manager is far more compelling. It answers questions before they’re even asked and leads to faster approvals. Cleaner textures mean smoother renders, and smoother renders mean a faster path from concept to sign-off.
Beyond clothing: Use cases in digital art and virtual environments
Mastering seamless texture creation for digital art opens doors beyond just apparel. These skills are highly transferable and valuable across the entire 3D industry.
Upholstery in architectural visualization: An archviz artist needs to sell the feeling of a space. A photorealistic couch with a beautifully rendered, seamless woven fabric makes an entire room feel more inviting and real. The same goes for curtains, rugs, and bedding.
Costumes and assets in game design: In video games, every texture has to perform well while looking great. Seamless textures are the backbone of character outfits, environmental fabrics like flags and tents, and even worn leather on armor. The ability to create optimized, tileable textures is a core skill for any game artist.
By building this skill, you’re not just becoming a better apparel designer; you’re becoming a more versatile digital artist, ready to tackle challenges across multiple creative industries.
The real insight: Mastering dynamic texture manipulation
Okay, so you’ve built a great library of static, tileable textures. That’s a huge step. But the real game-changer, the thing that will future-proof your workflow is moving beyond the static image file. The ultimate goal is to treat textures not as fixed photos, but as dynamic, editable recipes.
Going beyond the tile: Procedural texturing and customization
This is where procedural texturing comes in. Think of it this way: a standard texture is like a finished cake someone baked for you. A procedural texture is the recipe for that cake, allowing you to change the ingredients whenever you want.
Instead of being based on a single photograph, procedural textures are generated by software (like Texturly) using mathematical algorithms. This gives you an incredible amount of flexibility:
Infinite Variations: You can generate endless variations from a single base graph. Need that denim in a darker wash? Adjust the color slider. Want to add more wear-and-tear to the knees? Increase the Dirt or Abrasion parameter. You never have to go back to Photoshop to create a new file.
Resolution Independence: Because they are algorithm-based, you can export procedural textures at almost any resolution you need 1K, 2K, 4K, 8K without any loss in quality. You create the recipe once and bake it at whatever size you need for the job.
Non-destructive workflow: Every change is just a parameter tweak. You can always go back and adjust the scale of the weave, the color of the thread, or the intensity of the pattern without starting over. This is a massive leap in efficiency for any designer who needs to iterate quickly.
The future-proof Workflow: Advanced texture mapping and rendering
Whether you’re using photo-based or procedural textures, the final step to achieving ultimate realism is mastering PBR (Physically Based Rendering) texture mapping. This means going beyond just the color (Albedo) map and using a full set of textures that tell the render engine how the surface should behave in light.
Here are the key players you need to master for your digital textile rendering:
- Normal map: This is the most important map for faking detail. It tells the renderer where the bumps, grooves, and fibers are on your fabric surface. A good Normal map is what makes a knit look chunky or a twill weave feel directional, all without adding a single extra polygon to your mesh.
- Roughness map: This map controls how light scatters across the surface. A very smooth, shiny material like silk will have a dark (low roughness) map, creating tight, bright highlights. A matte material like cotton or wool will have a light (high roughness) map, scattering light more broadly for a softer look.
- Metallic & specular maps: For most fabrics, you won’t touch the Metallic map. But for textiles with metallic threads (Lurex) or a high sheen, these maps are crucial for controlling reflectivity and getting the look right.
By combining a procedural approach with a deep understanding of these PBR maps, you move from simply applying textures to truly designing materials. You gain a level of control that allows you to create faster, iterate more freely, and produce stunningly realistic results that set your work apart.
More than just pixels, it’s your new design workflow
We started this whole conversation with a single, frustrating problem, that ugly seam that kills a great render. But fixing that seam was just the entry point. The real shift happens when you stop thinking about textures as static, flat images and start seeing them for what they truly are: dynamic, controllable ingredients in your design recipe.
Whether you're using Photoshop's classic offset filter or diving into a procedural workflow, you've now got the playbook to move beyond just finding materials. You can create them. You can control the story of every thread, weave, and fiber. That’s a huge leap. It’s the difference between being a digital assembler and becoming a true digital material artist.
This isn't just about making prettier pictures. It’s about building a smarter, faster workflow that gives you more creative freedom. It means less time fixing technical issues and more time focused on what you do best, designing incredible apparel. You’ve got the skills and the creative eye. Now go build that library, one perfect texture at a time. Your future projects will thank you for it.

Max Calder
Max Calder is a creative technologist at Texturly. He specializes in material workflows, lighting, and rendering, but what drives him is enhancing creative workflows using technology. Whether he's writing about shader logic or exploring the art behind great textures, Max brings a thoughtful, hands-on perspective shaped by years in the industry. His favorite kind of learning? Collaborative, curious, and always rooted in real-world projects.
Latest Blogs

How 4K Seamless Textures Transform Flat CG Into Tangible Fabric
PBR textures
Fabric textures

Max Calder
Nov 21, 2025

Beyond Color and Gloss: How Plastic Texture Tells Your Product's ...
Product rendering
Texture creation

Max Calder
Nov 19, 2025

Decode Plastic Material Texture: The Team Language That Prevents ...
Product rendering
Texture creation

Mira Kapoor
Nov 17, 2025
