How ARKit Textures Transform Real-World AR Experiences
By Max Calder | 28 July 2025 | 15 mins read
Table of contents
Table of Contents
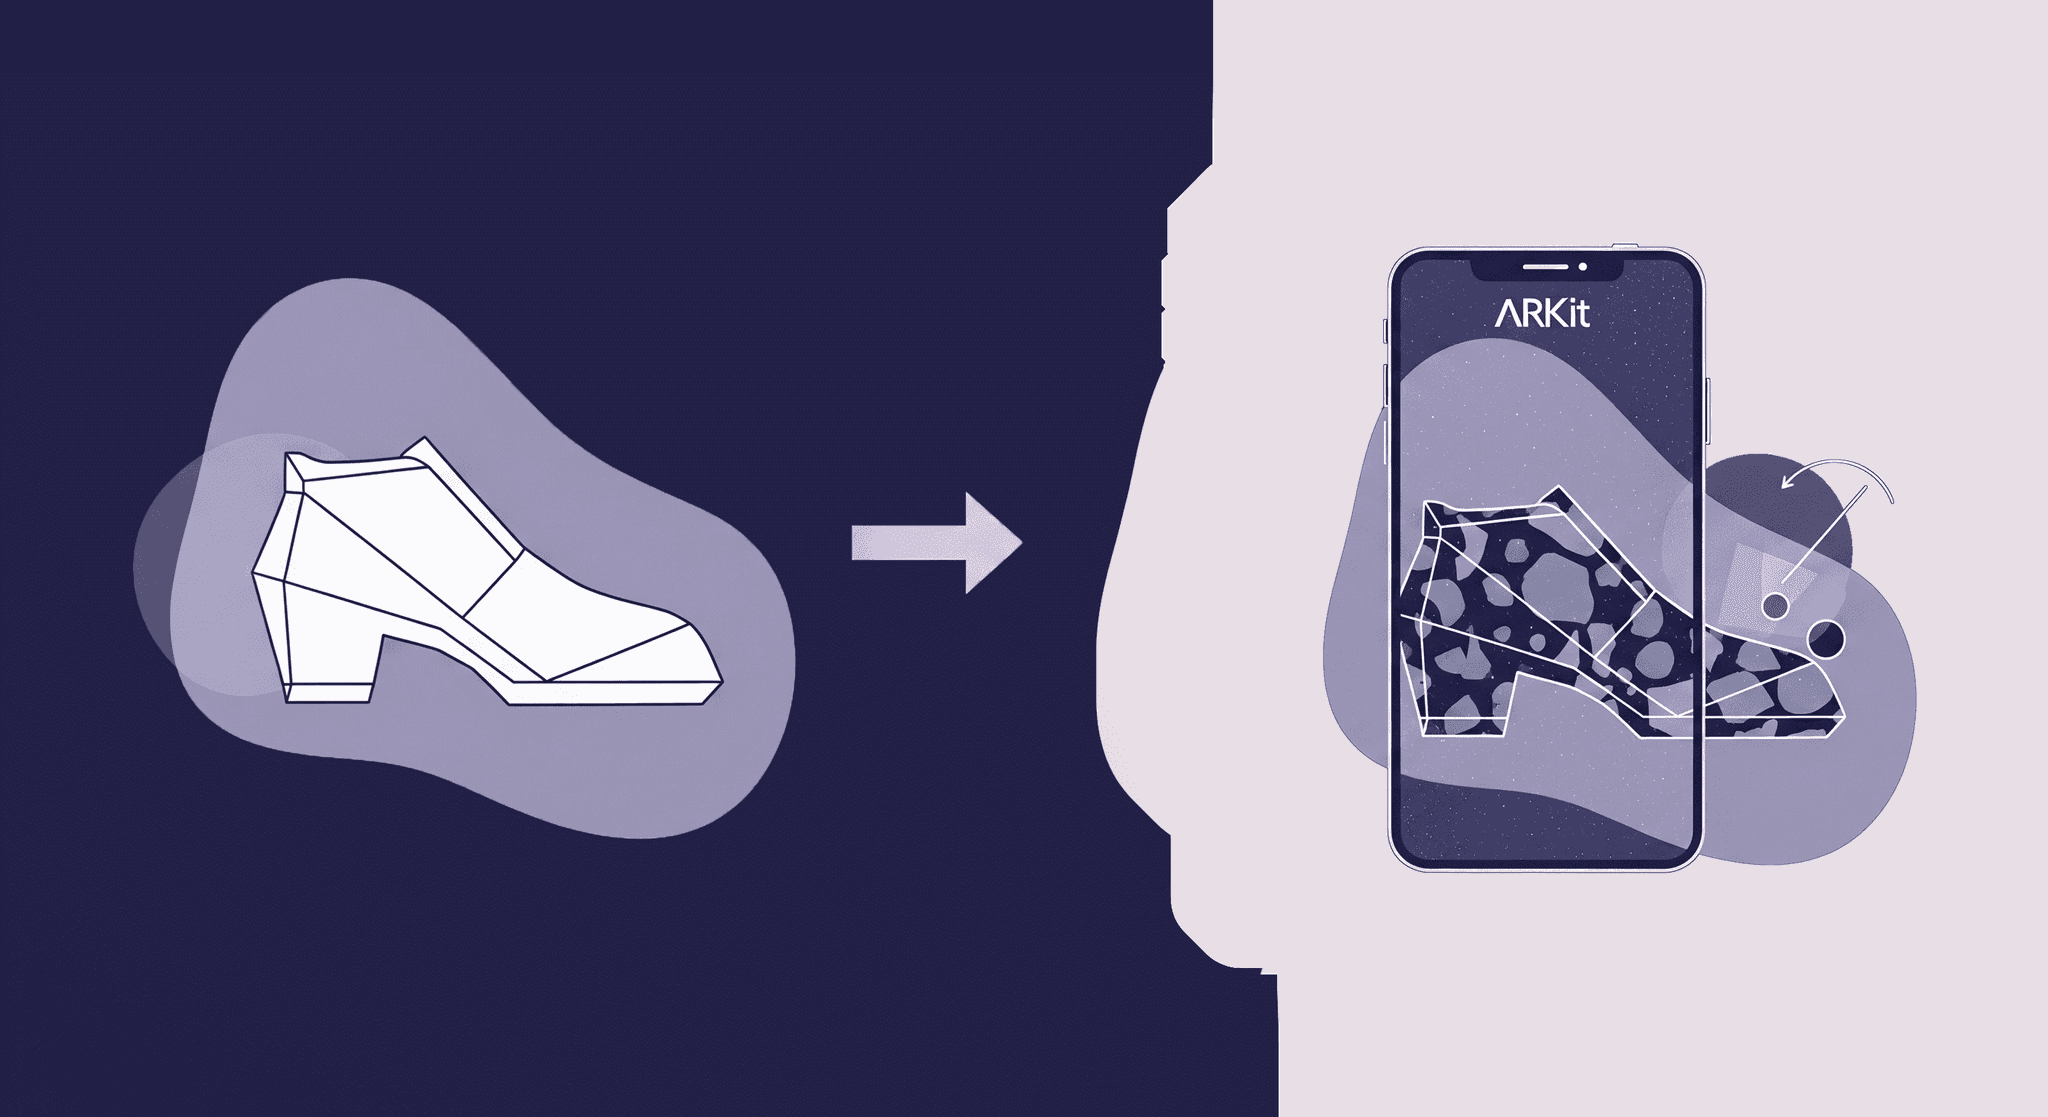
Ever drop a gorgeous 3D model into an AR scene, only to watch it fall flat? It looks like a sticker slapped on reality, instantly breaking the very illusion you worked so hard to build. This guide is your complete walkthrough for mastering ARKit textures—we’re skipping the dense academic theory and diving straight into the practical pipeline that makes your models look like they truly belong in the user's world. Getting this right isn't just a nice-to-have; it’s the core skill that separates amateur work from a professional portfolio and the key to landing those bigger, better freelance gigs.

Why textures are your secret weapon in AR
Ever placed a 3D model into a real-world scene and it just… doesn’t sit right? It looks flat, like a decal pasted onto the environment. The lighting’s off, the object feels weightless, and the illusion falls apart. That’s where textures come in. They’re the invisible force doing the heavy liftingturning plain geometry into something that looks and feels like it belongs in the real world.
Answering the big question: How do textures improve AR scene realism?
Think of a plain, untextured 3D model as a mannequin. It has the right shape, but no personality. Textures are the clothing, skin, and imperfections that bring it to life. They work by faking the way light interacts with surfaces, which is the key to tricking our brains.
Here’s how they do it:
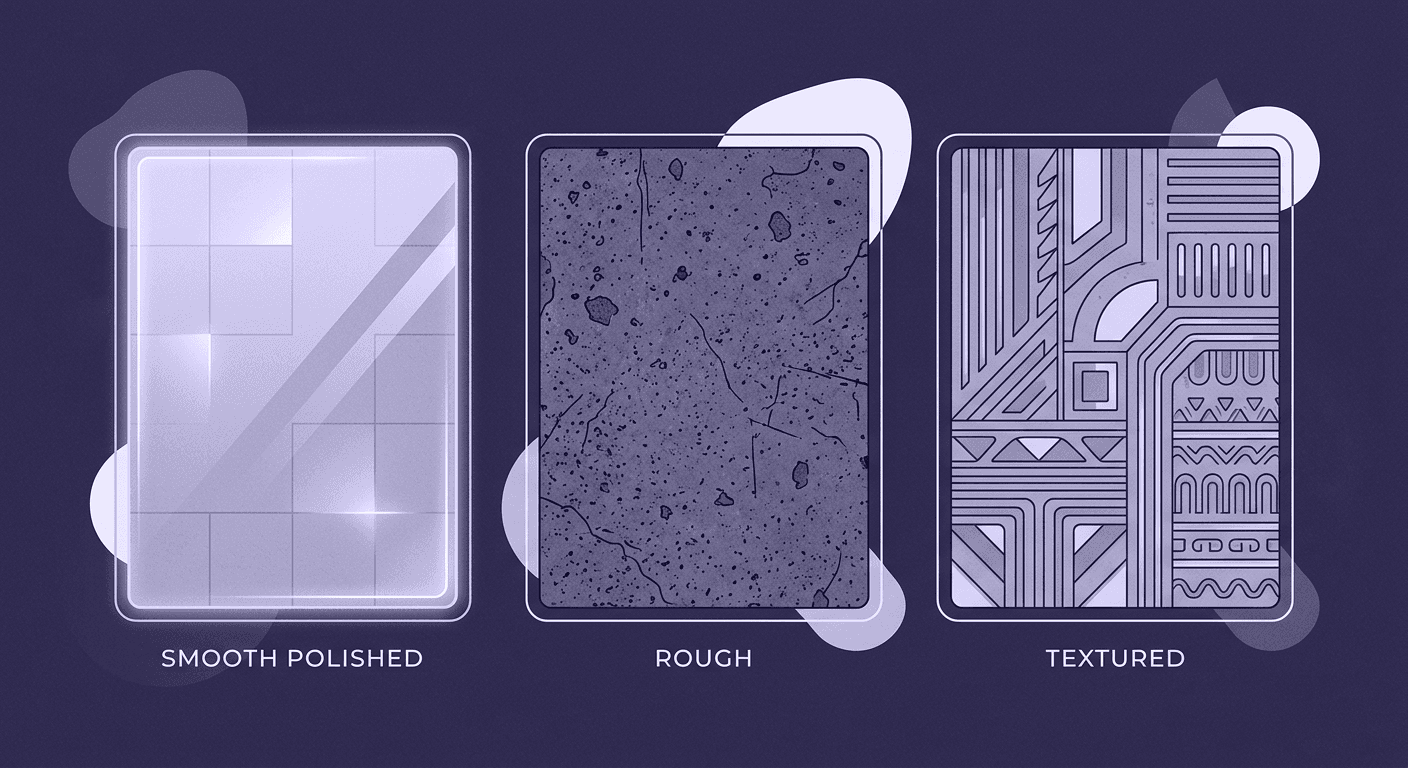
- They define the material: Is the object made of rough wood, polished metal, or soft fabric? The texture’s color (Albedo) and roughness maps tell ARKit how light should bounce off or be absorbed by the surface. A shiny object will reflect the real-world environment around it, while a rough one will diffuse light softly. This is the foundation of AR scene realism.
- They create depth and detail: A flat surface in 3D is too perfect. Normal maps are special textures that fake the bumps, grooves, and imperfections of a real-world surface. They tell the rendering engine to simulate shadows and highlights on a microscopic level, giving a flat plane the illusion of complex geometry without adding polygons. It’s how you get the texture of leather or the grain of wood without a million-poly model.
- They ground the object in reality: Shadows and ambient occlusion are critical. Textures can include pre-baked ambient occlusion maps, which add soft, subtle shadows in the crevices of your model. This gives the object a sense of weight and makes it feel connected to the ground or surface it’s on, rather than just floating in space.
When these elements work together, the viewer stops seeing a digital overlay and starts believing the object is actually there. That’s the magic we’re chasing. Now, get your tools ready to make it happen.
Getting your toolbox ready: Prepping your models and maps
Great textures in ARKit start long before you open Xcode or Unity. They start in your 3D tool. A little prep here saves a ton of headaches later. Think of it as mise en place for 3D artists, everything in its right place before you start cooking.
First, a quick rundown of the essential texture maps you’ll be working with. You don’t need dozens, just the core trio for great-looking PBR (Physically-Based Rendering) assets:
1. Albedo map: This is your base color texture. It’s the pure color of the object, without any lighting or shadow information baked in. Just the flat, diffuse color like a photo taken in a perfectly lit, shadowless room.
2. Normal map: This is the purple-and-blue map that fakes surface detail. It bends the light that hits your model to create the illusion of bumps, scratches, and grooves. This is how you make a low-poly model look incredibly detailed.
3. Roughness map: This is a grayscale map that controls how shiny or matte a surface is. Pure black is a perfect mirror, while pure white is completely rough like chalk. This map is arguably the most important for realism, as it dictates how your object reacts to the real-world lighting captured by the camera.
With those three, you can define almost any material. Now, here are some best practices for exporting from Blender (or Maya/3ds Max) to ensure a smooth transition:
- Check your UVs: Make sure your model is properly unwrapped. No overlapping UVs! Stretched or distorted UVs will ruin your textures. Use Blender’s UV checking tools to spot any problem areas.
- Apply all transforms: In Blender, a common mistake is leaving scale or rotation data on the object. Before exporting, select your object and hit Ctrl+A (or Cmd+A) and apply All Transforms. This zeros out the model’s position, rotation, and scale, preventing weird import issues.
- Keep naming conventions clean: Name your objects and materials logically (e.g., Chair_Model, Chair_Material). And name your textures to match their purpose (e.g., Chair_Albedo.png, Chair_Normal.png). This makes reconnecting everything in the next step much easier.
- Export for your target engine: Export as.FBX for Unity or GLB/.GLTF if you’re heading toward Reality Composer or other web-based platforms. Ensure you have the right settings in Blender’s FBX exporter, set Path Mode to Copy and enable the embed textures button can package everything into one file, simplifying your import.
Once your assets are prepped and organized, you’re ready for the main event: bringing them into your AR project.
The core workflow: A solid ARKit texture implementation
Your models are clean, and your maps are exported. Now for the fun part, plugging it all together. A clean pipeline from your 3D tool to your AR engine is what separates a smooth, creative process from a frustrating, bug-hunting nightmare.
Step 1: Building a clean pipeline from your 3D tool to Xcode/Unity
Your goal here is to get your model and its textures into your project with zero drama. Common headaches, like missing textures or broken materials, usually happen right at this stage. Here’s how to avoid them.
If you’re using Unity, the go-to for many freelance artists, the process is straightforward:
1. Create a dedicated folder: Inside your Unity Assets folder, create a new folder for your 3D model (e.g., 3D_Models/Vintage_Chair). Keep it organized!
2. Import your assets: Drag your FBX file and all its associated texture maps (Albedo, Normal, Roughness, etc.) into this new folder.
3. Check the import: Click on your imported model in Unity. In the Inspector panel, go to the Materials tab. If your naming was correct, Unity often automatically creates a material and attempts to link the textures. But you should always double-check.
If you’re working directly in Xcode with Reality Composer, the .usdz format is your best friend. Tools like Blender or Cinema 4D can export directly to .usdz, which packages the model, materials, and textures into a single, optimized file. This is the cleanest pipeline for native iOS AR texture techniques because it’s a self-contained asset that’s ready for ARKit.
Avoiding the headaches means being methodical. Don’t just drag and drop randomly. A structured project folder is a happy project folder.
Step 2: Applying materials with ARKit texture rendering
With your assets imported, it’s time to tell ARKit how to render them realistically. This is where you connect your texture maps to the right material slots to get that physically-based look. Let’s stick with the Unity example, as its visual material editor is a great way to learn.
Here’s a walkthrough of setting up a PBR material:
1. Create a new material: In your Unity project folder, right-click and go to Create > Material. Name it something descriptive, like Vintage_Chair_Mat.
2. Assign the textures: Select your new material. In the Inspector, you’ll see several slots. This is where the magic happens.
- Albedo: Drag your color texture map into the Albedo slot. You’ll immediately see your model’s base color appear.
- Metallic & smoothness (roughness): Unity’s standard shader uses a Metallic map and a Smoothness map. Your Roughness map is just the inverse of a Smoothness map. You can often just invert it in a tool like Photoshop or check a box in Unity’s texture import settings. For metallic surfaces, you’ll use the Metallic slot. For smoothness, drag your (potentially inverted) roughness map into the Smoothness slot. You can also just use the slider for simple materials.
- Normal map: Drag your normal map into the Normal Map slot. You might see a warning that the texture is not marked as a normal map. Just click the Fix Now button. Immediately, you’ll see the surface detail pop.
3. Apply the material to your model: Drag the configured material from your project folder directly onto your 3D model in the scene view. Voila.
This process is the heart of ARKit texture implementation. You’re not just applying a picture; you’re defining a physical surface. Getting this right is the 80/20 of making AR content look believable.
Ready to stand out? Advanced techniques that get you hired
Okay, you’ve nailed the basics. Your objects look solid, and they react to light correctly. But how do you push your work from good to unforgettable? This is where you go beyond just texturing for looks and start thinking like a seasoned AR developer.
Making it real with physical-based rendering (PBR)
We’ve mentioned PBR, but let’s be clear: it’s not just a feature, it’s the standard for professional augmented reality texturing. The reason is consistency. A PBR asset will look correct in any lighting condition ARKit throws at it, from a dimly lit room to a bright sunny day. It’s a workflow that future-proofs your art.
Most artists know how to plug in the maps, but the ones who get hired know how to tweak the settings for maximum impact. Here are two simple PBR tweaks that have a huge effect on realism:
- Fine-tune the roughness: This is your storytelling tool. Is a metal object brand new or old and worn? Adjust the roughness map. Add subtle smudges or scratches to the map in Photoshop or Substance Painter. A uniform roughness value looks fake; controlled variation is what sells the effect.
- Use ambient occlusion (AO): The AO map adds small, soft shadows in the cracks and crevices where ambient light wouldn’t reach. In Unity’s PBR shader, there’s a dedicated Occlusion slot. Plugging in an AO map adds a subtle depth and weight that makes your object feel grounded. It’s a small touch that makes a massive difference.
Using textures for more than just looks
Here’s a pro-tip that will instantly elevate your projects. Textures don’t have to be visible. You can use them as data layers to define interactive zones on real-world surfaces.
This is the hidden insight that turns a simple viewing experience into a true interaction. Imagine you’re building an AR game where a creature can only walk on grass, not pavement. How do you do that on a real-world floor?
1. Create an invisible interaction mask: After ARKit detects a horizontal plane (the floor), you can overlay an invisible material on it.
2. Use a texture to define zones: Apply a black-and-white texture to this invisible material. In your code, you can read the texture data at a given world coordinate. If the pixel is white, it’s a valid zone (grass). If it’s black, it’s invalid (pavement).
3. Drive the logic: Your game logic now knows where the creature can and can’t go. You can even use a grayscale texture to define different speeds or behaviors.
This elevates your skillset beyond just making things look pretty. You’re now using textures to architect complex, site-specific interactions, a far more valuable skill.
Leveling up your workflow with advanced texture mapping strategies
Knowing how to implement realistic textures in ARKit is one thing, but doing it efficiently is another. Two techniques will save you time and optimize performance:
- Decals for detail: Instead of creating a massive 4K texture to add a small logo, bullet hole, or bit of graffiti, use a decal. A decal is a smaller texture applied on top of your base material. This keeps your main texture files smaller and more performant, and it gives you the flexibility to place details wherever you want without re-baking your main textures.
- Trimsheets for efficiency: For architectural or environmental assets, a trimsheet is a game-changer. It’s a single texture sheet containing multiple repeatable details like bolts, vents, trims, and panels. You can UV map different parts of your model to small sections of this one texture sheet. This allows you to texture huge, complex objects using just one material and one set of textures, which is incredibly efficient for mobile rendering.
These advanced ARKit texture rendering techniques show you’re thinking about performance and scalability, not just the single hero asset.
Keep it smooth: Optimizing your textures for mobile AR
Creating beautiful AR experiences is only half the battle. You also need to make sure they run smoothly on an iPhone or iPad without draining the battery or turning the device into a space heater. This is all about optimization.
Finding the sweet spot between detail and performance
So, what’s the right texture resolution? The honest answer is: it depends. But a good rule of thumb for mobile AR is to find the lowest resolution that still looks good. More often than not, you don’t need that 4K texture.
Here are some tips for striking that balance:
- Start with 1024x1024: For most small to medium-sized objects in an AR scene (a chair, a lamp, a character), a 1K (1024x1024) texture is plenty. If an object is very large or a hero asset, the user will inspect it up close, so you might push it to 2K (2048x2048). Rarely will you need 4K for mobile AR.
- Use the Power of Two: Always make your texture dimensions a power of two (e.g., 512x512, 1024x1024, 2048x2048). This is critical for memory management and compression on GPUs.
- Compress Your Textures: Don’t ship uncompressed PNG files. Use texture compression to dramatically reduce memory usage. For iOS, the ASTC format is the king. Unity makes this easy in the texture’s import settings. You can select the platform (iOS) and choose a compression quality. This can shrink file size by up to 10x with minimal visual loss.
Smart optimization is about making deliberate choices. It’s better to have a fast, fluid experience with 1K textures than a laggy mess with 4K textures.
From theory to reality: Examples of slick iOS AR texture techniques in action
Look at a couple of examples that nail their iOS AR texture techniques.
1. Case Study: The IKEA place app
IKEA’s app is a masterclass in practical AR. The furniture models aren’t hyper-detailed, but they feel real. Why?
- What they do well: Their ARKit texture rendering is focused on material definition. The fabric on a sofa looks soft and diffuse. The wood has a subtle sheen. The metal legs reflect a bit of the room. They use moderately-sized textures (likely 1K or 2K) and rely on excellent PBR values to sell the realism. The objects feel grounded because the lighting and material response is so believable.
- The takeaway: Great lighting interaction beats ultra-high resolution every time. Focus on your roughness and metallic maps.
2. Case Study: The Walking Dead: Our world (AR game)
This game populates the real world with zombies. The zombies don’t need pristine, 4K textures. They need to look good enough from a few feet away and, most importantly, not slow the phone down when ten of them are on screen.
- What they do well: They use aggressive optimization. Character textures are likely 1K, and they probably use trimsheets and texture atlases to put multiple zombie parts onto a single texture map. This reduces draw calls, a major performance bottleneck. They use decals for blood spatter and other effects, which keeps the base character textures reusable and cheap to render.
- The Takeaway: Performance is a feature. When you have multiple objects on screen, an efficient texture strategy like atlasing is non-negotiable.
By studying how the pros handle improving AR scene detail with textures while respecting the limits of mobile hardware, you can build experiences that are not only beautiful but also a joy to use. That’s how you build a reputation and land your next gig.
From sticker to story: Where you go from here
That digital object that looked like a sticker slapped on reality. The gap between that and a truly believable AR experience can feel huge. But after walking through this pipeline, you now have the bridge to cross.
The biggest shift isn’t just learning where to plug in a normal map. It’s starting to see textures for what they really are, not just image files, but the language of believability. A smudge on a roughness map tells a story. An ambient occlusion shadow gives an object weight. You’re no longer just decorating a 3D model; you’re giving it a history and a place in the real world.
This is the skill that elevates your portfolio and gets you hired. Clients don’t just want a model; they want an illusion. And now you have the tools to build it. Better yet, you have the insight to push beyond appearances and use textures to drive interaction, a skill that puts you ahead of the curve.
The tools are in your hands. The workflow is clear. Now go build something that doesn't just look like it’s there, it feels like it belongs.

Max Calder
Max Calder is a creative technologist at Texturly. He specializes in material workflows, lighting, and rendering, but what drives him is enhancing creative workflows using technology. Whether he's writing about shader logic or exploring the art behind great textures, Max brings a thoughtful, hands-on perspective shaped by years in the industry. His favorite kind of learning? Collaborative, curious, and always rooted in real-world projects.
Latest Blogs

A Practical Guide for How to Choose The Right Concrete Texture fo...
3D textures
PBR textures

Mira Kapoor
Apr 29, 2026

VR Textures in Unreal Engine: A Beginner’s Guide to Setup, Optimi...
3D textures
AI in 3D design

Max Calder
Apr 27, 2026

360 Environment Textures vs Traditional Textures: Key Differences...
AI in 3D design
PBR mapping

Max Calder
Apr 24, 2026
