The Physics of Believability: Advanced VR Texture Creation for Lifelike Worlds
By Max Calder | 23 September 2025 | 13 mins read
Table of contents
Table of Contents
Most VR environments feel like you’re walking through a video game. The surfaces are a little too clean, the lighting a little too perfect, and no matter how good your models are, the world just feels… flat. It's that frustrating gap between the world in your head and the one that ends up in the headset. This guide breaks down the advanced, yet accessible, techniques the pros use to bridge that gap. We're going to unpack a complete workflow for creating hyper-realistic textures from crafting physically-based materials in Blender to making them feel tangible with lighting in Unity, all without spending a dime on software. Because in VR, players don’t just look at your world, they get right up close. They lean in to inspect the rust on a pipe or the grain on a wooden table. Mastering how materials behave under that level of scrutiny is the key to building worlds that pull people in and don't let them go.

Principles of VR realism
To build worlds that feel tangible, where a user can lean in and believe the rust on a pipe or the grain on a wooden table, you need to master how materials behave. It’s not about having the most expensive software; it’s about understanding the physics of light.
Understand why PBR is essential for immersive texture design
This is where Physically Based Rendering (PBR) comes in. Think of it less as a style and more as a philosophy: create materials that obey the laws of physics. Instead of faking how a surface should look, you define its actual properties, how metallic it is, how rough it is, and let the game engine’s lighting do the rest.
For VR, this is non-negotiable. When a user can physically move their head to inspect a surface from any angle, under dynamic lighting, old-school texturing tricks fall apart instantly. PBR ensures that a piece of brushed aluminum will consistently look like brushed aluminum, whether it's under the harsh noon sun or lit by a flickering neon sign. We’ll focus on the Metallic/Roughness workflow, which is the standard for engines like Unity and Unreal. It’s intuitive and gives you all the control you need.
Gather your toolkit: Low-cost software for VR texture creation
You don’t need a triple-A studio budget to create stunning textures. The freelance artist’s best friends are powerful, free tools that get the job done right. Here’s the only stack you need to get started:
- Blender: This is your digital workshop. We’re not just using it for modeling, but for its incredibly powerful procedural shader system. You can build complex, hyper-realistic materials from scratch without ever opening an image editor. It’s perfect for generating infinite variations of stone, wood, metal, and more.
- Unity: This is where your creations come to life. As your VR engine, Unity has a robust PBR material system (the Standard Shader) that’s ready to receive the textures you create in Blender.
- CC0 texture libraries: You don’t always have to start from zero. Websites like Poly Haven, AmbientCG, and CGBookcase offer thousands of high-quality, free PBR texture sets. Use them as a base for your own materials or study them to see how the pros break down surfaces.
With this toolkit, you have everything you need to build a professional portfolio. Now, let’s get our hands dirty and start crafting some materials.
Craft your materials: The core workflow
Great textures aren’t just made; they’re observed. Before you even touch your mouse, the most important step is to look at the world around you and break down what you see. Why does a new steel bolt look different from an old, rusty one? The answer lies in the texture maps.
Break down real-world surfaces into texture maps
Pick an object nearby, a wooden desk, a ceramic mug, anything. Now, let’s dissect it into its PBR components. This is the thought process of a texture artist:
- Albedo (or base color): What is its pure, flat color, with no lighting or shadows? For worn wood, this would be the brown hue of the wood, maybe with darker and lighter variations, but no highlights or reflections.
- Normal: What are the fine, 3D details on the surface? The wood grain, tiny scratches, and dents are all captured here. The normal map fakes the way light hits these tiny bumps, giving the illusion of depth without adding more polygons.
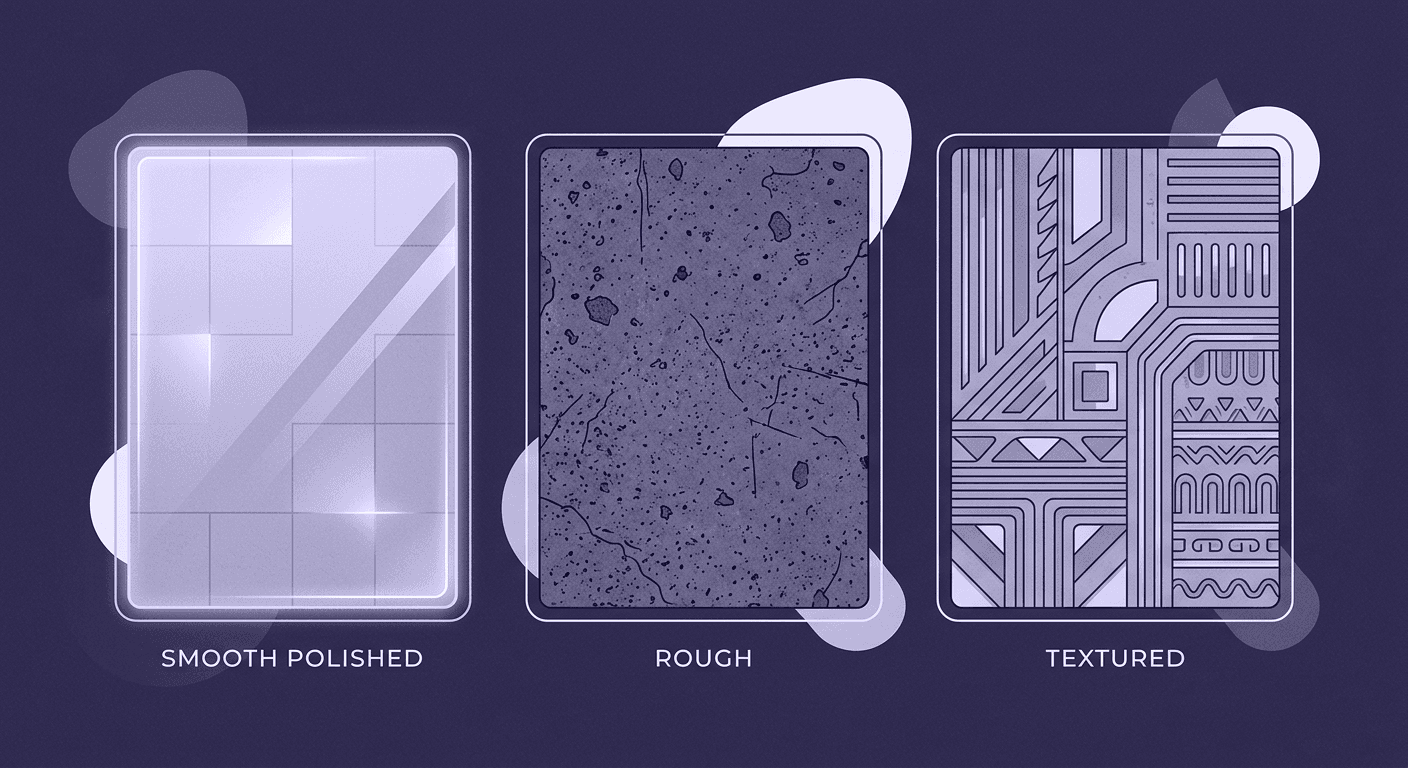
- Roughness: How is light scattered across the surface? A perfectly smooth, polished piece of wood would have a low roughness value (creating tight, sharp reflections). Old, raw wood would be very rough (creating blurry, diffused reflections). This is arguably the most important map for selling realism.
- Metallic: Is this surface made of metal? It’s a simple question with a simple answer, usually represented by a black-and-white map. For wood, it's black (non-metal). For brushed steel, it's white (metal).
By thinking in these layers, you’re no longer just painting a picture; you’re defining the physical makeup of a surface. This is the key to creating materials that react believably in any lighting scenario.
How to create lifelike textures for VR worlds procedurally in Blender
Instead of finding a photo of wood, let's build wood from scratch inside Blender’s Shader Editor. Procedural workflows are powerful because they’re non-destructive and infinitely customizable. You can change the entire look of a material just by tweaking a few sliders.
Here’s a simplified breakdown of the process:
- Start with the base color: Don't just pick a single brown. Use a Noise Texture node and plug it into a Color Ramp to create subtle variations in tone. This immediately breaks up the artificial, computer-generated look.
- Create the wood grain: Use a Noise Texture, but this time, stretch it along one axis in the Mapping node. This distorts the noise into long, flowing lines that look like wood grain. Plug this into the Normal Map input (via a Bump node) to create the illusion of depth.
- Drive roughness from your details: Here’s the pro-tip: reuse your texture patterns. Take the same wood grain texture you just made and plug it into another Color Ramp. Make the deep grain a bit less reflective (higher roughness) and the flat surfaces a bit shinier (lower roughness). This ensures your surface details and reflections align perfectly, which sells the effect.
- Add imperfections: The real world is messy. Use another, smaller Noise Texture to add tiny, subtle variations to the roughness map. These non-repeating imperfections, like faint scuffs or areas of wear, are what trick the eye into seeing realism.
Bake your procedural materials into PBR texture maps
A procedural shader is a beautiful, complex web of nodes, but it only works inside Blender. It's also computationally heavy. To use it in Unity, you need to flatten it into a set of simple, optimized image files. This process is called baking.
In Blender, you essentially tell it to render each PBR component of your shader (Albedo, Roughness, Normal, etc.) onto a flat image texture. You set up a blank image file for each map, select it in the Shader Editor, and hit the Bake button in the Render Properties panel. After a few moments, your complex node setup is converted into a set of game-engine-ready PBR textures. You now have a universally compatible material that’s lightweight and ready for your VR world.
Implement and refine: Making textures feel tangible in VR
Creating great material is only half the battle. If it’s implemented poorly in the engine, it will still look fake. In VR, two things are critical for making textures feel like they’re part of a solid world: consistent scale and correct shader setup.
Master texture scale and detail in virtual environments
Ever gotten close to a wall in a VR game and seen it dissolve into a blurry mess? That’s a problem of Texel Density. A texel is just a pixel in your texture map. Texel density is the measurement of how many of those pixels are displayed per meter of 3D space.
In VR, maintaining a high and consistent texel density is crucial because the user can put their face right up against any surface. If the floor has a super high-resolution texture but the walls are low-resolution, the illusion of a cohesive world shatters. Your goal is for a one-meter cube to have roughly the same texture resolution no matter where it is in your scene.
Here’s a simple method to keep it consistent:
- Create a simple checkerboard texture. Apply it to every object in your scene as you work.
- Your goal is to make the squares of the checkerboard appear roughly the same size on every surface.
- If the squares on one object are huge, its UVs are scaled too small, and the texture will look low-res. If the squares are tiny, the UVs are too large, and you're wasting texture memory.
- Adjust the UV maps of your models until the checkerboard looks uniform across the entire scene. This simple check will dramatically improve the visual consistency of your VR world.
Set up your virtual world material rendering in Unity
Now it’s time to bring your baked textures into Unity and reconstruct the material. Thankfully, this part is incredibly straightforward.
- Import your textures: Drag your baked Albedo, Metallic, Roughness, and Normal maps into your Unity project folder.
- Create a new material: Right-click in the Project window, go to Create > Material, and give it a name (e.g., Worn_Wood_Mat).
- Plug in the maps: With the new material selected, look at the Inspector window. You’ll see slots for the Unity Standard Shader. It's as simple as dragging and dropping:
- Drag your Albedo texture into the Albedo slot.
- Drag your Metallic map into the Metallic slot.
- Drag your Roughness map into the Smoothness slot (Unity uses Smoothness, which is just the inverse of Roughness. You can check the "Invert" box on the texture import settings or do it in an image editor).
- Drag your Normal map into the Normal Map slot. Be sure to click the "Fix Now" button if Unity tells you it's not marked as a normal map.
That’s it. The material you designed in Blender is now fully functional in Unity, ready to react to the engine's lighting system.
Sell the illusion: The magic of lighting and final touches
Your textures are ready, but the scene still feels a bit… dead. That’s because a material is nothing without light. Lighting provides context, mood, and the final 10% of detail that sells the illusion of reality. Texturing and lighting aren’t separate jobs; they’re two halves of the same whole.
See how lighting impacts texture perception in VR
Let’s go back to our worn wood material. Under the direct, hard light of a spotlight, you’ll see sharp, defined reflections in the smoother parts of the wood grain, and the normal map will cast tiny, harsh shadows in the crevices. The material will feel rough and detailed.
Now, take that same material and place it in a room with soft, ambient light coming from a large window. The reflections will become broad and diffuse. The normal map details will be much more subtle. The wood will feel softer, older. The texture itself hasn't changed at all, but its perception has, entirely based on the lighting. Mastering this relationship is key to directing the player's eye and creating atmosphere.
Use lighting to make your 3D material simulation pop
For your materials to truly feel like they belong in the world, they need to reflect it. This is where Unity's lighting probes come in. They are the secret sauce for making your materials feel integrated.
- Reflection probes: Think of these as tiny cameras that capture a 360-degree photo of their surroundings. Any metallic or smooth material within the probe’s range will use that photo to generate accurate reflections. Place these around your scene, especially in areas with different lighting or colors. When you walk from a blue room to a red room, you’ll see the reflection on your metallic object change in real-time. It’s a massive boost for immersion.
- Light probes: Static lighting is great for performance, but what about objects that move, like a character or a physics object? Light Probes store information about the light in empty space. When a dynamic object moves through a group of probes, it will blend the lighting information from the nearest ones, allowing it to be lit realistically by the static environment. This prevents dynamic objects from looking pasted on and disconnected from the world.
Add finishing touches: Decals and grunge for storytelling
Your world is now physically accurate, but it’s not yet alive. The final step is to break the perfection. The real world isn't clean or uniform; it's filled with history, wear, and tear. The most efficient way to add this layer of storytelling is with decals.
A decal is just a small texture with transparency that you can project onto any surface. Instead of creating a unique texture for a wall with a single piece of graffiti, you can just place a graffiti decal on top of your standard brick wall material. This is incredibly efficient and allows you to add unique details everywhere:
- Dirt and grime: Add smudges and dirt buildup along the edges of floors and walls.
- Scratches and damage: Place bullet holes, cracks, or scratch marks on surfaces that should be worn.
- Labels and signage: Apply warning labels to machinery or posters to a wall.
Decals break up repetition and make your environment feel lived-in. They tell a story without a single word of dialogue. It’s these small, thoughtful details that elevate a good-looking scene into a believable, hyper-realistic VR world.
From pixels to places
So, let's go back to that frustrating gap between the world in your head and the one in the headset. The tools we've unpacked procedural nodes, PBR maps, lighting probes, and decals aren't just technical tricks. They're your bridge.
They are what turn a collection of 3D models into a place with history, a world that feels solid and lived-in. You don't need a massive budget to do this. The real skill isn't buying the most expensive assets; it's learning to see the world like a texture artist breaking down the roughness of concrete, the scuffs on a floor, and the way grime collects in a corner.
Fire up Blender. Open that project you've been stuck on and look at it with fresh eyes. You now have the complete workflow to make every surface tell a story. The only thing left to do is build something that feels real.

Max Calder
Max Calder is a creative technologist at Texturly. He specializes in material workflows, lighting, and rendering, but what drives him is enhancing creative workflows using technology. Whether he's writing about shader logic or exploring the art behind great textures, Max brings a thoughtful, hands-on perspective shaped by years in the industry. His favorite kind of learning? Collaborative, curious, and always rooted in real-world projects.
Latest Blogs

A Practical Guide for How to Choose The Right Concrete Texture fo...
3D textures
PBR textures

Mira Kapoor
Apr 29, 2026

VR Textures in Unreal Engine: A Beginner’s Guide to Setup, Optimi...
3D textures
AI in 3D design

Max Calder
Apr 27, 2026

360 Environment Textures vs Traditional Textures: Key Differences...
AI in 3D design
PBR mapping

Max Calder
Apr 24, 2026
