From Pixelated Mess to Polished AR: Debug ARKit Texture Generators
By Max Calder | 24 November 2025 | 11 mins read
Table of contents
Table of Contents
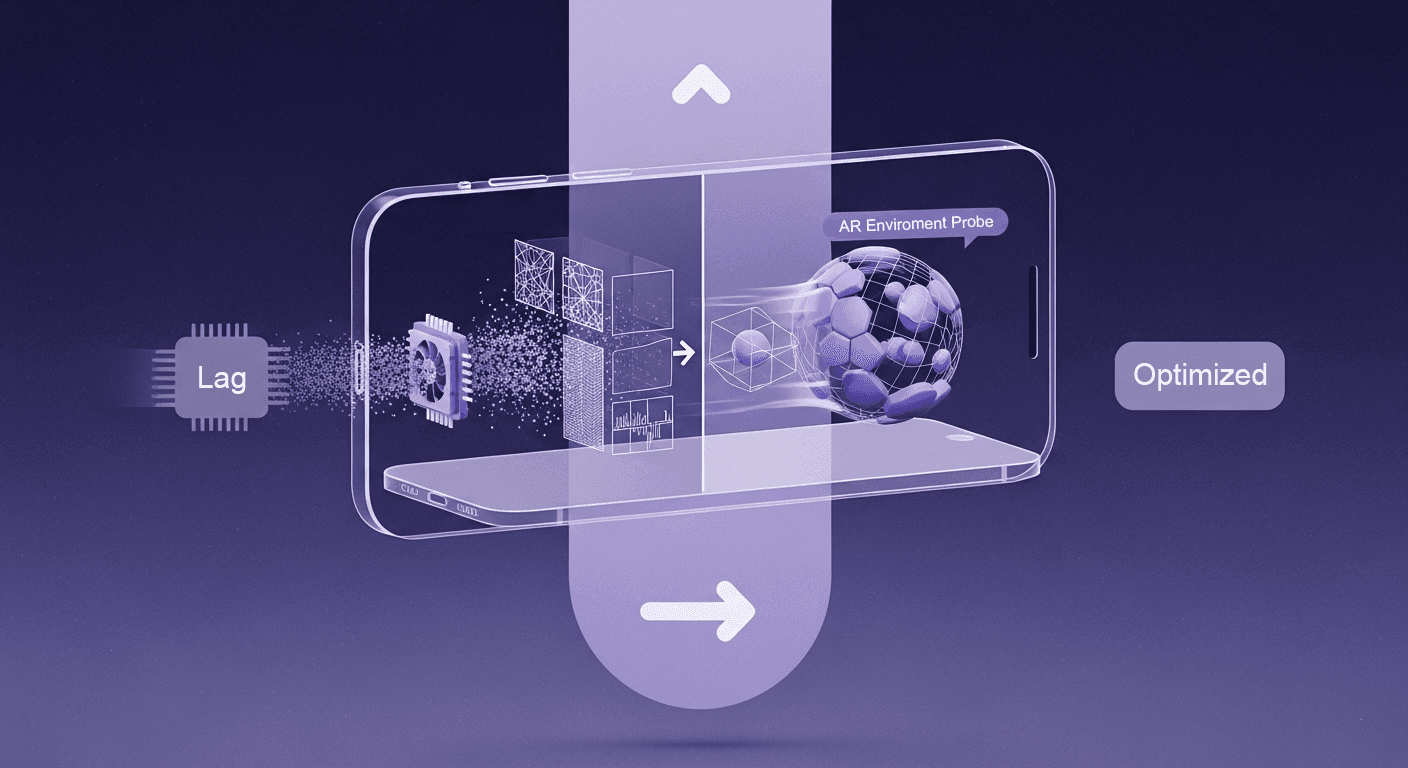
That moment when your beautifully designed procedural texture shows up in AR as a pixelated, stuttering mess is a special kind of frustrating. You did the hard work of drawing it with code, but instead of a crisp, dynamic element, you got a performance-killing glitch. This article is your troubleshooting playbook. We’ll unpack the most common ARKit texture generators challenges, from blurry visuals and high memory usage to those weird visual flickers, and give you the practical, actionable solutions to solve them. Getting this right is about more than just fixing bugs; it’s about building lean, responsive AR experiences that feel polished and professional, helping you land that next gig.

Core concepts of ARKit texture generation
Before you start debugging, it’s crucial to understand what’s really happening under the hood. ARKit texture generation isn’t just about visuals; it’s about orchestrating the GPU, CPU, and rendering pipeline to create responsive graphics in real time. This section breaks down the key building blocks that power every dynamic surface you see in AR.
Understand the goal: Creating dynamic UI and effects without static assets
You’re building an AR experience, and you need a heads-up display (HUD) that shows a player’s health, a glowing portal that shimmers just right, or a custom marker that adapts to the environment. The old way? You’d fire up Photoshop or Procreate, export a dozen PNGs, and bloat your app’s bundle size. That’s slow, rigid, and a pain to update.
This is where procedural textures come in. Think of them as textures drawn by code, on the fly. Instead of shipping a finished image, you ship the instructions to create it. This is a game-changer for augmented reality programming for two big reasons:
- It keeps your app lean. Code is tiny compared to high-resolution images. A smaller app means faster downloads and happier users, a must for mobile AR.
- It makes your visuals dynamic. Need a progress bar that fills up? Or a radar that pulses with detected objects? With procedural textures, you can tie your visuals directly to data and user interactions. They aren’t just pictures; they’re responsive elements.
Getting this right is the first step toward building AR that feels alive, not just layered on top of the world.
Your essential toolkit: Key ARKit and Metal components
You don’t need to be a graphics programming wizard, but you do need to know your tools. Think of this as your core creative kit for texture generation. Everything we discuss next will involve a mix of these three.
- SceneKit materials: This is the canvas your texture gets applied to. An SCNMaterial has different properties, like diffuse (the main color), emission (for glows), and transparent, that determine how your generated texture will look on a 3D object.
- Metal textures (MTL texture): This is the high-performance engine under the hood. Metal is Apple’s framework for talking directly to the GPU. When you generate a texture, you’re creating an MTLTexture object that the GPU can render with incredible speed. It’s the raw material of your visual.
- Core graphics: This is your paintbrush. Core Graphics is a 2D drawing framework that lets you create shapes, text, gradients, and paths with code. You’ll use it to draw your UI or effects into a graphics context, which then gets converted into that MTLTexture we just talked about. It's the bridge between your design idea and the pixels on the screen.
These are the building blocks. Now, let’s look at what happens when they don’t play nicely together.
Pinpointing the problem: Common ARKit texture generators challenges
Even the best code can stumble when real-time rendering meets mobile constraints. From subtle blurriness to full-on frame drops, ARKit textures often fail for predictable reasons. Here’s how to recognize the patterns behind those glitches and decode what your visuals are trying to tell you.
Challenge 1: Textures appear blurry or pixelated
You designed a sharp, crisp HUD element, but on the 3D model, it looks like it was saved as a low-quality JPEG. It’s fuzzy, the edges are jagged, and it just looks unprofessional.
- Why it happens: This is usually a resolution mismatch or a sampling problem. The GPU is trying to stretch a small texture over a large surface, or it’s using a low-quality algorithm to figure out what pixels to show when the texture is viewed up close or from far away. Another common culprit is mipmapping, a series of pre-calculated, optimized images for different distances, which is disabled or configured incorrectly.
- First check: Are your texture dimensions a power of two (e.g., 256x256, 512x512, 1024x1024)? Many graphics pipelines are heavily optimized for these sizes. Using them can solve a surprising number of rendering issues right off the bat.
Challenge 2: Performance drops and high memory usage
Your AR experience runs smoothly until the generated texture appears. Then, the frame rate tanks, the device heats up, and everything feels sluggish. The whole app stutters, especially when you test it on your friend’s older iPhone.
- The cause: Texture generation is computationally expensive. If you’re creating a large, complex texture every single frame, and doing it on the main thread, you’re essentially blocking the app from doing anything else, including rendering the next frame. This creates a bottleneck that grinds your app to a halt.
- Symptom: The classic sign is a choppy frame rate. Your AR scene should feel buttery smooth, but instead, it jerks and freezes. This is a tell-tale sign that your CPU is overloaded and can’t feed the GPU frames fast enough.
Challenge 3: Visual glitches like flickering or incorrect colors
This is the most frustrating category, the weird stuff. Your texture might flicker rapidly, disappear at certain angles, or show up with completely wrong colors. Sometimes, transparent areas look opaque and black.
- Why it happens: This can be a mix of things. Flickering is often caused by Z-fighting, where two objects are at the exact same depth, and the GPU can't decide which one to draw in front. Incorrect colors often stem from a color space mismatch. Your code might be drawing in a standard sRGB color space, but the renderer expects a linear one, resulting in washed-out or overly dark visuals. Improper alpha blending is another common issue, where the transparency information in your texture isn’t being interpreted correctly.
This kind of visual noise is a common pain point in iOS AR development techniques and can instantly make a promising app feel buggy and untrustworthy.
The fixes: Your troubleshooting playbook for texture rendering in iOS AR
Okay, we’ve identified the problems. Now for the fun part: fixing them. Here’s a practical, step-by-step playbook for solving these common texture headaches. Now that you know what’s going wrong, it’s time to get hands-on. This section gives you practical, engineering-level fixes you can implement right away, no vague advice, just actionable tactics for sharper textures, smoother performance, and cleaner renders in ARKit.
Solution for blurriness: Master texture descriptors and sampling
To get sharp textures, you need to be explicit with your instructions to the GPU. Don't let it guess.
- Action: When you create your texture, use an MTLTextureDescriptor. This object is like a blueprint that defines the texture’s properties. Set the width, height, and pixelFormat correctly. If you need a 1024x1024 texture, define it as such. Don’t generate a 256x256 texture and hope it scales up nicely, it won’t.
- Pro-tip: Dive into your SCNMaterial properties. The mipFilter controls how the texture looks when it's far away, while magnificationFilter and minificationFilter control how it looks when it's scaled up or down. Setting these to linear instead of nearest enables smoother interpolation and gets rid of that blocky, pixelated look. It’s a tiny change that makes a huge difference.
Solution for performance lag: Optimize your generation pipeline
Your main thread is sacred. Protect it. The key is to offload heavy work and avoid doing the same job twice.
- Action: Move your texture generation code off the main thread. Grand Central Dispatch (GCD) is your best friend here. Wrap your texture creation logic in a DispatchQueue.global().async block. This sends the heavy lifting to a background thread, so the main thread can focus on keeping the UI and rendering smooth. Once the texture is ready, you can hop back to the main thread to apply it to your material.
- Strategy: This is crucial, cache and reuse textures. There is rarely a need to generate a brand-new texture 60 times per second. If the content of the texture hasn’t changed, don’t regenerate it. Create it once, store it in a dictionary or a property, and reuse it. Only trigger a regeneration when the underlying data actually changes. This is how to solve ARKit texture generation problems related to performance.
Solution for visual glitches: Debug rendering order and materials
When things look weird, you need to play detective. These glitches are often symptoms of a deeper logic or setup issue.
- Action: To fix Z-fighting, take control of the drawing order. Every SCNNode has a rendering Order property. By default, it’s 0. If you have two nodes that are close together (like a decal on a wall), set the decal’s rendering Order to 1 or higher. This tells SceneKit, “Hey, always draw this one on top,” resolving the conflict.
- Tool: Xcode's Frame Debugger is your secret weapon. It lets you pause your app and inspect exactly what the GPU is drawing, frame by frame. You can see your textures, check their alpha channels, and diagnose blending issues. If your transparent texture has a black background, the Frame Debugger will show you whether the alpha channel was generated correctly. It turns guesswork into a clear diagnosis.
Going pro: Best practices for ARKit texture generators
Fixing bugs is one thing. Building a solid, scalable system is another. Adopting these mindsets will help you move from just making it work to making it great.
Once the bugs are gone, the real craft begins. Professional AR developers design systems that are scalable, predictable, and performance-proof. This final section distills the proven habits and optimization strategies that turn good texture pipelines into production-ready frameworks.
Adopt a generate once, use often mindset
Don’t think of texture generation as something that happens in the middle of the action. The most robust ARKit texture implementation pipelines treat it as a setup step. Before your AR session even starts, think about the dynamic textures you’ll need.
- Structure your code to create a library or cache of generated textures when the app loads or a new level begins. For example, if you have a UI with 10 different icons, generate all 10 textures upfront and store them. When you need one, you just grab it from your cache. It’s instantly available with zero frame rate cost.
- Result: This front-loading approach leads to a far smoother, more responsive user experience. The app feels polished and professional because you’ve paid the performance cost upfront, not during critical interactions.
Profile your app to find the real bottlenecks
It’s easy to guess where your app is slowing down. It’s much more effective to know. Professional developers don’t guess; they measure.
- Don't assume your texture code is the problem. Use Xcode’s Instruments, specifically the Metal System Trace and Game Performance templates. These tools will show you, with method-level detail, exactly how much time your CPU and GPU are spending on every task—including texture generation.
- Why it matters: You might discover that the bottleneck isn’t the drawing code itself but how frequently you’re uploading the texture to the GPU. Profiling gives you the data to make targeted optimizations instead of wasting time on changes that don’t make a difference. This is how you build apps that can compete.
Keep mobile constraints in mind
Finally, remember you’re not developing for a high-end gaming PC. You’re building for a device that fits in a pocket and runs on a battery.
- Test on a range of devices, not just the latest and greatest iPhone. A freelancer’s app needs to work for as many clients and their users as possible. What runs perfectly on an iPhone 15 Pro might be unusable on an iPhone 11.
- Tip: Optimize for memory. Every pixel costs memory. Use the right MTLPixelFormat for the job. If you’re just creating a grayscale mask, you don’t need a full-color RGBA format. Using a single-channel format like MTLPixelFormat.r8Unorm can cut your texture’s memory footprint by 75%. That’s a massive saving that leaves more resources for the rest of your AR experience.
Bringing it all together
We’ve covered a lot of ground here, from blurry textures to sluggish frame rates. It’s easy to look at this as just a list of technical bugs to squash. But that’s selling yourself short.
Think of it this way: what you've really learned is how to take direct control of the GPU. Before, you were handing in a request and hoping for the best. Now, you’re giving it specific, non-negotiable instructions. You’re moving from guesswork to intentional design.
That shift is what separates a decent AR prototype from a polished, professional experience. It’s the difference between an app that works and an app that feels right, fast, responsive, and reliable. The kind of work that lands you the next client.
So the next time a texture flickers or a frame drops, don’t just see it as a problem. See it as an opportunity. You have the playbook. You know the tools. Go build something that feels alive. You’ve got this.

Max Calder
Max Calder is a creative technologist at Texturly. He specializes in material workflows, lighting, and rendering, but what drives him is enhancing creative workflows using technology. Whether he's writing about shader logic or exploring the art behind great textures, Max brings a thoughtful, hands-on perspective shaped by years in the industry. His favorite kind of learning? Collaborative, curious, and always rooted in real-world projects.
Latest Blogs

How 4K Seamless Textures Transform Flat CG Into Tangible Fabric
PBR textures
Fabric textures

Max Calder
Nov 21, 2025

Beyond Color and Gloss: How Plastic Texture Tells Your Product's ...
Product rendering
Texture creation

Max Calder
Nov 19, 2025

Decode Plastic Material Texture: The Team Language That Prevents ...
Product rendering
Texture creation

Mira Kapoor
Nov 17, 2025
