A Guide to Mastering Digital Textile Draping And Texture Mapping
By Max Calder | 15 September 2025 | 11 mins read
Table of contents
Table of Contents
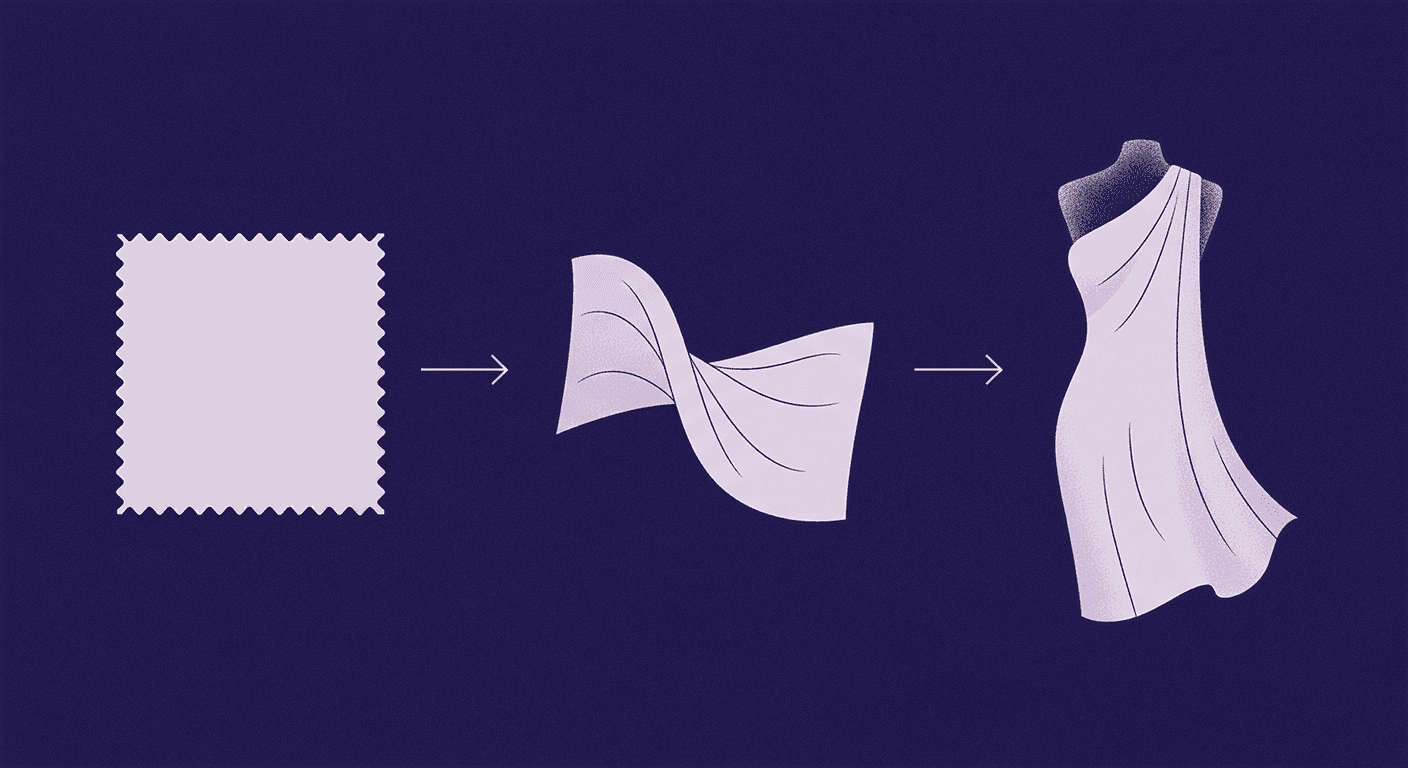
There's a huge difference between a digital garment that's just made and one that feels alive. You can nail the pattern and run the simulation, but if your digital silk doesn’t catch the light just right or your virtual denim lacks that authentic, heavy feel, it all falls flat. We've all been there, staring at a render that's almost perfect. This guide is here to close that gap for good. We're going to unpack the professional workflow for merging the physics of a great drape with the art of texture mapping, turning that almost right into something jaw-dropping. Because achieving that next-level realism isn't about a single magic button, it’s about mastering the interplay between how a fabric behaves and how its surface looks.

Prepping for a pro-level workflow
Before you can create truly lifelike digital garments, you need the right foundation. A professional workflow isn’t about relying on a single tool, it’s about combining the strengths of multiple platforms to achieve seamless results. From selecting the right simulation software to mastering texture creation tools, this stage sets the groundwork for everything that follows. Get your toolkit right, and the rest of the process becomes faster, smoother, and far more effective.
Choose your toolkit: The right software for the job
So, what's the best software for the job? The honest answer is it’s rarely just one. Most professional pipelines rely on a combination of tools that play to their strengths. Think of it like a workshop, not a single magic button.
Your core players are often CLO3D (or its sibling, Marvelous Designer) and the Adobe Substance 3D suite.
- CLO3D is your master tailor. It’s built from the ground up for apparel, handling pattern-making, fitting, and the actual physics of how fabric hangs and moves. This is where you build the form and execute the digital drape.
- Texturly is your material laboratory. This is where you create, tweak, and perfect the fabric's surface. Tools like Texturly let you turn a simple photo into a full-blown, tileable PBR material.
The fastest workflow isn't about picking one over the other; it’s about letting each tool do what it does best. You build the garment's structure and drape in CLO3D, then create and apply hyper-realistic materials from Texturly to bring it to life.
Understand the core concepts: Simulation vs. Mapping
Before we dive in, let’s clear up two terms that often get tangled: digital fabric simulation and 3D texture mapping. Mastering both is what separates good work from jaw-dropping work.
- Simulation is physics. It’s the engine that calculates how a piece of digital silk falls differently than digital denim. It understands gravity, weight, and friction. This is what creates the drape, the folds, and the movement. It’s the behavior of the fabric.
- Texture mapping is the appearance. It’s the process of wrapping a 2D image of your fabric's texture onto the 3D simulated mesh. It’s the color, the weave pattern, the subtle imperfections. This is the surface of the fabric.
You can have a perfect simulation that looks like a gray sheet, or a beautiful texture wrapped around a stiff, unnatural shape. Realism only happens when the two work together, when a photorealistic wool texture is mapped onto a 3D model that drapes with the authentic weight and stiffness of wool.
Prepare your textures: From flat file to 3D asset
The most sophisticated drape simulation in the world can’t save a low-resolution, poorly made texture. Your final render is only as good as the raw materials you feed it. Your textures are the building blocks of realism. Even the most accurate simulation will fall flat if your fabric maps lack detail or quality. At this stage, the goal is to transform flat images into rich, high-resolution, seamless PBR assets that capture every subtle nuance of the fabric. Whether you’re creating custom textures or sourcing them from professional libraries, this is where your materials go from simple swatches to lifelike 3D assets.
Create or capture high-fidelity fabric maps
Your goal is a set of seamless, high-resolution textures. Seamless means you can tile it across a large surface without any obvious repeating edges. High-resolution means it holds up even in close-up shots.
You have two main paths here:
- Create them yourself: Tools like Texturly are fantastic for this. You can take a photo of a real fabric swatch, and its AI-powered features will generate a full set of PBR maps for you, making it seamless and evening out the lighting. It’s like having a portable photo scanner for materials.
- Use professional libraries: Sometimes, you just need to move fast. Services like Adobe Substance 3D Assets or Poliigon offer vast libraries of scan-based, production-ready fabric textures. The investment often pays for itself in time saved.
Master the essential map types for textiles
A complete texture isn't just one image; it's a set of maps that tells the rendering engine how to treat a surface. For textiles, three are absolutely critical:
- Albedo (or Base Color): This is the straightforward one. It’s the flat color and pattern of the fabric, the plaid, the floral print, the solid blue. No lighting, no shadows, just pure color information.
- Normal Map: This is where the magic starts. A Normal map is a special image that fakes fine surface detail without adding more polygons to your model. It tells the engine where the tiny bumps and dips are in the weave of canvas, the knit of a sweater, the slubs in linen. It’s what gives your fabric a tangible, physical presence.
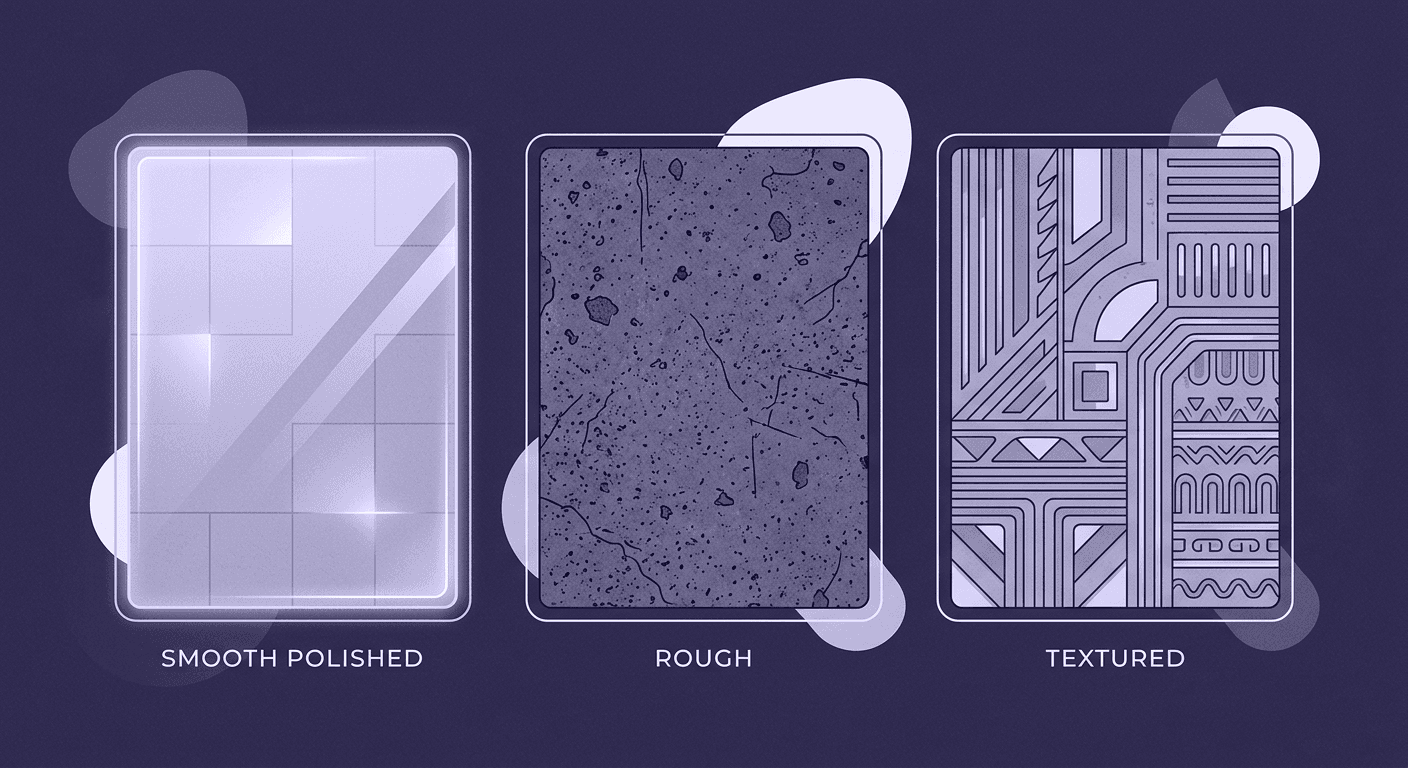
- Roughness Map: This map controls how light scatters across the surface. Is it a shiny, light-reflecting silk (low roughness) or a matte, light-absorbing cotton (high roughness)? A good Roughness map is rarely flat gray; it has subtle variations that mimic how different parts of a weave catch the light.
Together, these maps tell the full story of your fabric, what color it is, what its physical texture feels like, and how it reacts to light.
Build the drape: The digital textile draping workflow
With your toolkit ready and your textures prepped, now it’s time to bring your garments to life. This step focuses on combining your 3D models with realistic fabric simulations and precision-applied textures. From importing clean meshes and aligning grainlines to fine-tuning fabric properties, this workflow merges structure and surface detail into a single, believable result. Here, the interplay between physics and texture transforms a flat render into a garment that feels tangible.
Import and configure your 3D garment model
First, make sure your 3D garment model is ready for its close-up. A little prep work here saves a lot of headaches later. Your checklist:
- Clean topology: Ensure your mesh is free of weird, stretched polygons or intersecting geometry. The physics simulation runs best on clean, evenly distributed quads.
- Proper scale: Work in real-world units. If your model is the size of a skyscraper or an ant, the physics engine will get very, very confused. Make sure your avatar and garment are scaled correctly (e.g., in centimeters).
- Basic UVs: While you don't need perfect UVs at this stage, they shouldn't be a complete mess. A simple automatic unwrap is often enough to start with.
Once imported into a program like CLO3D, you'll assign a default fabric property to your pattern pieces. Think of this as a starting point for the simulation.
Execute the core digital textile draping process
Now, let's apply the textures. This is the heart of digital textile draping. You'll import your Albedo, Normal, and Roughness maps into the fabric's material editor.
The most critical step here is aligning the texture with the fabric's grainline. Just like in real-world apparel, the way a pattern falls is dictated by its orientation on the fabric. Use your software's texture transformation tools to rotate and scale the map until it follows the flow of the garment pattern piece. A plaid pattern, for example, should run parallel to the hemlines and center fronts unless it's intentionally cut on a bias. This small detail makes a huge difference in perceived authenticity.
Tweak and refine the simulation for realism
With your textures applied, hit the simulate button. Your garment will drape onto the avatar based on the default physics. Now, the artistry begins. You need to adjust the fabric properties to match your material.
- Mimic different materials: To simulate heavy wool, you might increase the Density and Bending stiffness. For lightweight silk, you’d do the opposite, decreasing Friction and Density to give it that fluid, slippery quality.
- Use pins and freezing: Don't be afraid to control the simulation. Use pins to hold a specific point in place, just like you would on a real mannequin. Want to perfect a cuff roll? Pin it, simulate the rest of the garment, and then release the pin. You can also freeze entire pattern pieces to lock them in place while you work on other areas.
This is an iterative process. Tweak, simulate, observe, and tweak again until the drape feels right.
Add the final polish: Advanced techniques for hyper-realism
Good simulations can get you close, but hyper-realism lives in the details. This stage is all about refining, enhancing, and elevating your work. By sculpting micro-folds, controlling light interactions, and fine-tuning shaders, you can push your garments beyond good enough into jaw-dropping realism. It’s these finishing touches, the subtleties of fabric behavior and light response that make your digital creations look and feel truly alive.
How to create realistic fabric folds in 3D design
Automatic simulation creates large, general folds, but hyper-realism lives in the small, specific creases. Here are a few pro techniques to create them:
- Manual sculpting: Most 3D apparel software includes tools to manually push, pull, and smooth the mesh after simulation. Use them sparingly to add small stress folds around a buttonhole, subtle bunching at the waist, or to refine the shape of a pleat. Less is more.
- Wind controllers: To get a gentle, organic sense of movement, add a wind controller to your scene. Even a very light, almost imperceptible breeze can break up the perfection of a static drape and create more natural-looking ripples, especially on lightweight fabrics.
- The select and tweak method: In CLO3D, you can select a small part of the mesh with the brush tool and gently pull on it while the simulation is running. This is perfect for coaxing a collar to sit just right or encouraging a hem to fold over in a more natural way.
Fine-tune material shaders for accurate fabric visualization
Default shader settings are made to be broken. To truly nail your fabric visualization techniques, you need to dive into the material editor and tweak how your fabric interacts with light.
- Sheen and anisotropy: For fabrics like satin or velvet, a simple roughness value isn't enough. Adjust the Sheen to give it that characteristic edge-lighting effect. For fabrics with a visible grain like brushed steel or certain synthetics, tweaking the Anisotropy will make the highlights stretch along the direction of the grain, just like they do in real life.
- Subsurface scattering (SSS): For sheer or translucent fabrics like organza or chiffon, SSS is your best friend. It simulates light penetrating the surface, scattering inside, and exiting at a different point. This gives the material that soft, luminous glow instead of looking like a piece of faded plastic.
Troubleshoot common texture mapping pitfalls
Even in the best workflows, problems pop up. Here’s how to handle the most common ones.
- Texture stretching: If your pattern looks warped or stretched in certain areas (often around curves or complex seams), it’s almost always a UV issue. Your 2D texture isn't being projected onto the 3D surface evenly. The fix usually involves going into your software’s UV editor to relax or redistribute the UVs in the problematic area.
- Visible seams: Seeing a harsh line where your texture repeats? This means your texture map isn't truly seamless. You can often fix this in a tool like Texturly using its “Make it Tileable” feature, or by manually cloning and blending the edges in Photoshop.
- Pattern distortion: When a geometric pattern like a plaid or stripe doesn’t line up across seams, the fix is manual. You have to go back to the texturing stage and meticulously move the texture on each pattern piece until they align perfectly when sewn together. It’s tedious, but it’s the only way to make it look right.
Don’t think of UV editing as a chore. Think of it as your secret weapon for solving the toughest texturing problems and taking your work from great to flawless.
Making it real: From technical to tangible
Think of it this way: the physics simulation is the body language of your fabric, but the texture maps are its voice. One without the other tells an incomplete story. A perfect drape with a flat texture is a silent ghost; a beautiful texture on a stiff model is just wallpaper. The jaw-dropping realism you’ve been chasing happens right where those two things meet.
The workflow we’ve unpacked from prepping PBR maps to manually sculpting those final, subtle folds isn’t just a series of technical steps. It’s the bridge between a 3D model and a garment you can almost feel through the screen.
You now have the toolkit to create digital silk that looks like it would slip through your fingers or denim that conveys a real sense of weight and history. This is how you build a portfolio that stops the scroll, present virtual prototypes that get instant buy-in, and finally close the gap between your creative vision and a tangible result.
The rest is your artistry. Now go make something that feels real.

Max Calder
Max Calder is a creative technologist at Texturly. He specializes in material workflows, lighting, and rendering, but what drives him is enhancing creative workflows using technology. Whether he's writing about shader logic or exploring the art behind great textures, Max brings a thoughtful, hands-on perspective shaped by years in the industry. His favorite kind of learning? Collaborative, curious, and always rooted in real-world projects.
Latest Blogs

A Practical Guide for How to Choose The Right Concrete Texture fo...
3D textures
PBR textures

Mira Kapoor
Apr 29, 2026

VR Textures in Unreal Engine: A Beginner’s Guide to Setup, Optimi...
3D textures
AI in 3D design

Max Calder
Apr 27, 2026

360 Environment Textures vs Traditional Textures: Key Differences...
AI in 3D design
PBR mapping

Max Calder
Apr 24, 2026
