5 Practical Projects That Turn Textile Textures Into Professional Assets
By Max Calder | 18 August 2025 | 9 mins read
Table of contents
Table of Contents
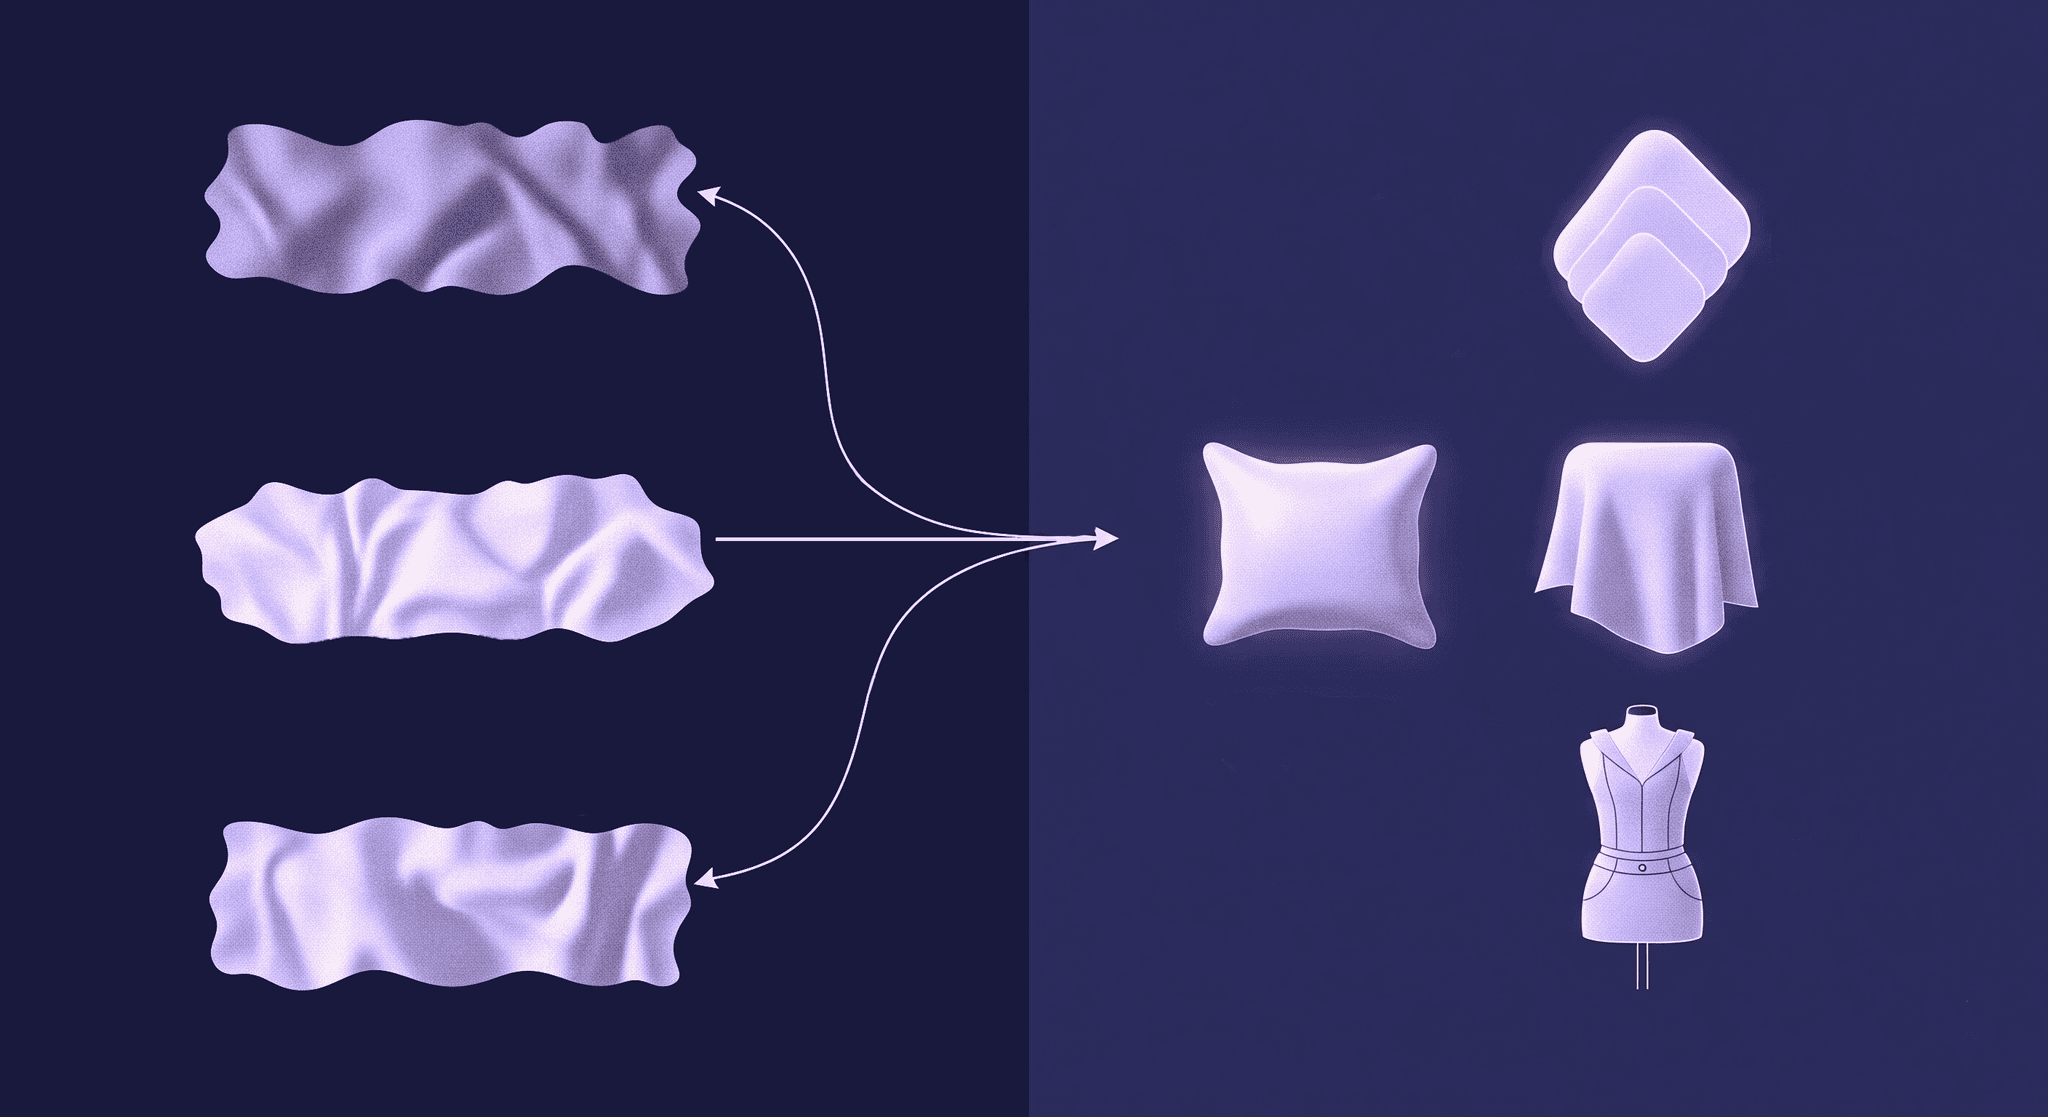
That folder of free textile textures sitting on your team's server? It’s not just a resource library, it’s one of your most underutilized strategic assets for accelerating your design cycle. In this guide, we’ll unpack five practical projects that transform those textures from simple background fillers into core tools for a smarter, faster, and more visually compelling digital workflow. We're moving past just pasting fabrics onto sketches. We’re talking about building photorealistic mockups that get instant buy-in, crafting mood boards with real emotional weight, and even mapping textures for 3D prototyping, all to help your team prove the strategic value of a digital-first approach.

Why digital textures are more than just a background
Flat designs are just that: flat. They communicate an idea, but they don’t tell a story. In the world of fashion, the story is everything. It’s in the way a heavy wool coat drapes or how silk catches the light. Digital textures are your bridge from a simple concept to a tangible, believable product, all before a single thread is stitched.
For a design team, this is about more than aesthetics. It’s a strategic advantage. Integrating high-quality textile textures into your workflow isn’t just about making things look pretty; it's about accelerating your entire design cycle. Think about the weeks and the budget spent on physical sampling. Now, imagine getting 90% of the way there in a few hours, right on your screen. You can validate ideas, get stakeholder buy-in, and make critical decisions faster.
For an innovation lead, this is the core of a smarter workflow. It’s about enhancing visual fidelity to make better predictions about the final product and boosting the strategic impact of every digital presentation. When you can show a photorealistic render instead of a simple sketch, the conversation changes from What will this look like? to Where do we see this in the market?
So, how do you get your team started? Here are five practical, high-impact fashion design projects you can tackle using readily available free textile textures.
5 Must-try fashion design projects with free textile textures
1. Level up your fashion mockup design with photorealistic fabrics
Most design processes start with a sketch. But a sketch can’t communicate the specific character of a fabric. This is where your texture library becomes an essential tool. By applying realistic textile textures to your 2D mockups, you transform a simple line drawing into a compelling, believable product concept.
This isn’t just about making a better-looking image. It’s about front-loading your decision-making. Does that pleated skirt work better in a crisp cotton or a flowing satin? How does a chunky knit change the silhouette of a sweater? With a textured mockup, you can visualize the drape, weight, and material feel in minutes. This allows your team to iterate faster, spot potential issues early, and present concepts with a confidence that flat sketches just can’t match.
- Textures to try: Go for classics that show distinct character. Think denim twills with their diagonal weave, glossy silk satins, thick chunky knits that scream cozy, and structured crisp cottons for shirting.
- Pro-tip: When working in Photoshop or a similar program, use blending modes to seamlessly integrate the texture. Don’t just place it on top. Set the texture layer to Multiply or Overlay. This allows the shadows and highlights from your original sketch to show through, making the fabric look like it’s part of the garment, not just wallpaper pasted on it.
2. Craft immersive digital art and concept mood boards
A mood board is the mission statement for a collection. It’s the visual anchor that keeps the entire team aligned. But a collection of disconnected images can feel generic. Applying fabric textures is the secret to creating mood boards that are not just seen, but felt.
Use textures to create rich, layered backgrounds or to frame key images. A coarse linen texture behind a photo of a windswept coast immediately grounds the concept in a natural, earthy feel. A subtle, intricate lace pattern overlaid on a color palette adds a layer of romance and detail. This creative design technique moves your mood board from a simple collage to an immersive piece of digital art that truly communicates the soul of the collection. It’s a powerful tool for establishing a theme and getting everyone, from designers to marketers on the same page from day one.
- Textures to try: Look for textures that evoke a strong mood. Coarse linen or raw canvas for organic themes, intricate lace for femininity and detail, or bold, abstract jacquards for a more modern, graphic feel.
- Pro-tip: Don't limit yourself to one texture. Layer multiple fabrics with varying opacity levels. For example, you could lay a semi-transparent silk texture over a rough canvas background. The result is a completely new, custom digital fabric that has depth and nuance, a digital textile that feels uniquely yours.
3. Build a cohesive brand identity for digital channels
Your brand’s identity doesn’t stop with your logo and color palette. In a digital-first world, every touchpoint is an opportunity to reinforce who you are. Using a consistent set of textile textures across your digital channels, social media templates, lookbook layouts, website banners, and email newsletters, adds a sophisticated, tactile element that makes your brand instantly recognizable.
This is a simple but incredibly effective texture strategy. A brand focused on minimalist tailoring might use a subtle herringbone weave as a background for Instagram stories. A heritage brand could use a classic wool plaid in its website headers. This consistency creates a digital environment that feels premium and considered. It tells your audience that you care about detail, not just in your clothes, but everywhere your brand lives. It transforms your digital presence from a simple storefront into a cohesive, branded world.
- Textures to try: Choose textures that reflect your brand’s ethos. Understated, subtle wools, classic herringbone weaves, or sharp, minimalist pinstripes all work beautifully for creating a sophisticated digital backdrop.
- Pro-tip: The key here is consistency, not variety. Create a core library of 3-5 on-brand textures and share it across your creative and marketing teams. This ensures that whether someone is designing a social post or a new webpage, the tactile feel of the brand remains consistent. It’s a workflow hack that pays dividends in brand recognition.
4. Prototype virtual garments in 3D with accurate texture mapping
This is where digital fashion design gets really powerful. In 3D software like CLO3D or Browzwear, textile textures are more than just images, they become digital materials with properties that mimic the real world. Applying textures as PBR (Physically Based Rendering) materials allows you to test prints, patterns, and fabrics on a virtual model with stunning accuracy.
This workflow is a game-changer for sustainability and efficiency. You can see how a pattern repeats across seams, how a fabric’s texture interacts with light, and how different materials affect the garment’s overall shape, all without cutting a single yard of physical fabric. This dramatically reduces sample waste and shortens the development calendar. For an innovation team, mastering this process is non-negotiable. It’s the fastest path from idea to a high-fidelity virtual prototype that can be used for everything from internal reviews to digital marketing.
- Textures to try: Seamless and tileable patterns are absolutely essential for 3D work. If the texture isn't seamless, you'll see ugly grid lines on your 3D model. Look for textures specifically designed for 3D applications.
- Pro-tip: To achieve true realism, you need more than just the color map (the image of the texture). Use the texture’s corresponding normal or bump map. Think of a normal map as a topographic map for your fabric, it’s a special image that tells the 3D software where the tiny bumps, ridges, and threads are. This allows the software to simulate how light hits the fabric's surface, adding incredible depth and realism to your render. It’s the difference between a 3D model that looks flat and one that looks like you can reach out and touch it.
5. Digitize physical textile techniques for a unique digital library
While free textile textures are an amazing resource, your brand’s most valuable assets are the ones no one else has. This project bridges the gap between physical craft and digital design by empowering you to create a proprietary texture library. The process is simple: find interesting physical materials and digitize them.
This is your chance to capture what makes your brand unique. Scan your own handwoven samples. Photograph vintage fabric finds from a research trip. Experiment with unconventional materials that have an interesting surface. By building your own library, you’re not just creating digital assets; you’re archiving your brand’s unique material DNA. This proprietary library becomes a powerful competitive advantage, ensuring your digital mockups and 3D garments have a texture and feel that is 100% yours.
- Textures to try: The possibilities are endless. Digitize your team's handwoven samples, interesting vintage fabric finds, or even unconventional materials like embossed paper or textured leather to spark new ideas.
- Pro-tip: To turn a simple photo into a reusable digital asset, you need to make it seamless and tileable. A flatbed scanner will often give you the cleanest, most evenly lit starting image. Bring that scan into an image editor like Photoshop and use the Offset filter (Filter > Other > Offset). This will wrap the image around so you can clearly see the seams. Then, use the Clone Stamp or Healing Brush tools to blend those edges until they disappear. Once you can’t see the seam, you’ve created a perfect, tileable texture that can cover any surface, no matter how large.
Putting it all together
So, there you have it. Five projects that turn a simple folder of textures into a powerhouse for your design workflow. But, this isn’t just about checking off a list. It’s about fundamentally changing the conversation.
It's about shifting your team’s energy from the slow churn of physical sampling to the rapid-fire freedom of digital iteration. It’s the move from asking, Can we get a sample of this? to How many ideas can we test before lunch?
This is where your team’s unique vision gets the backup it deserves. Where a high-fidelity mockup gets an idea approved faster, and a proprietary texture library built from your own physical materials, becomes a genuine competitive edge.
So go on, open up that library. Don’t just see files, see potential. See a smarter, more sustainable workflow waiting to be built. You’ve got the vision. Now you’ve got a few more tools to make it real.

Max Calder
Max Calder is a creative technologist at Texturly. He specializes in material workflows, lighting, and rendering, but what drives him is enhancing creative workflows using technology. Whether he's writing about shader logic or exploring the art behind great textures, Max brings a thoughtful, hands-on perspective shaped by years in the industry. His favorite kind of learning? Collaborative, curious, and always rooted in real-world projects.
Latest Blogs

How Fabric Texture Shapes Design Strategy in Fashion and Interior...
Fabric textures
3D textures

Mira Kapoor
Dec 10, 2025

DIY Textile Texture Techniques That Make Digital Designs Come Ali...
Fabric textures
Texture creation

Max Calder
Dec 8, 2025

Cost vs. Quality: A Decision Framework for PBR Textures
PBR textures
3D textures

Mira Kapoor
Dec 5, 2025
