Build Your Complete Digital Fashion Pipeline With Clothing Mockup Generators
By Mira Kapoor | 8 October 2025 | 12 mins read
Table of contents
Table of Contents
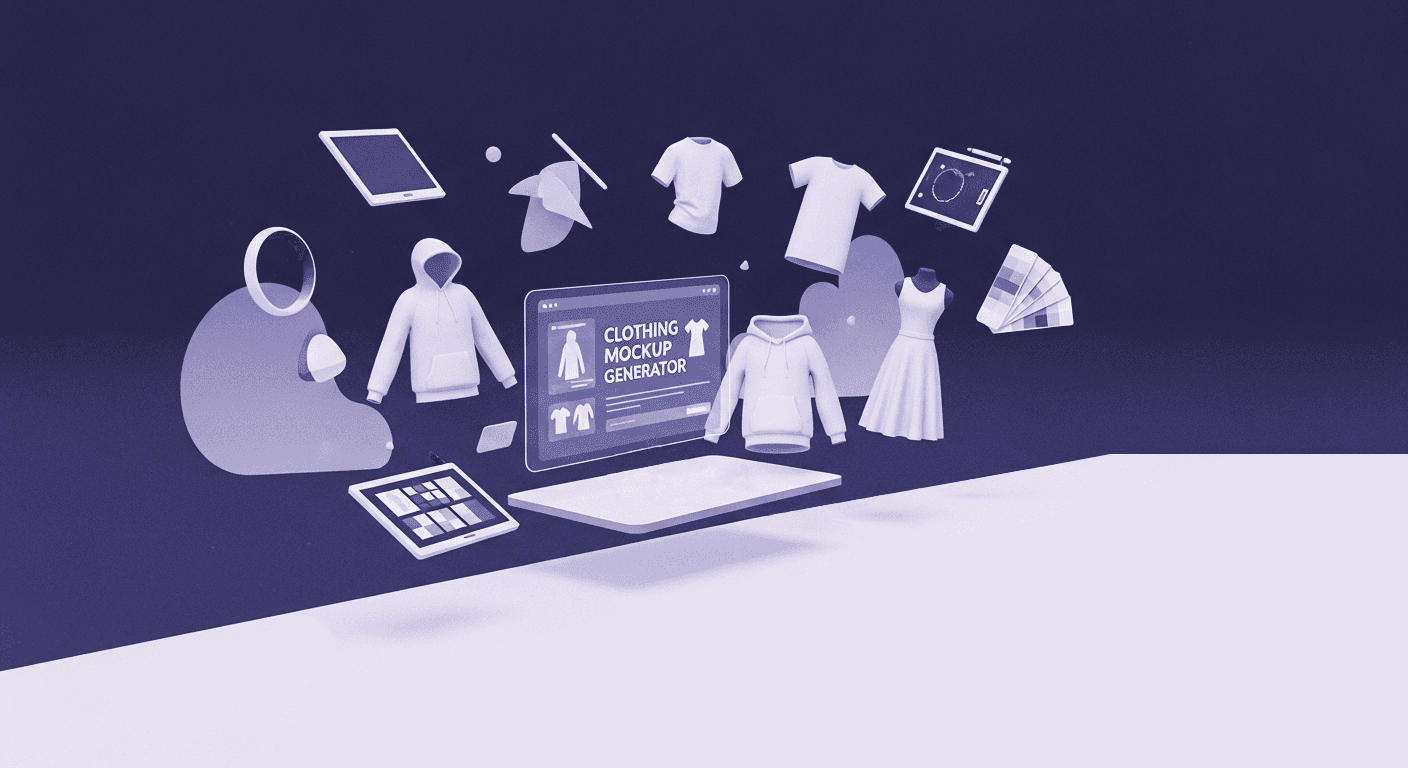
In modern design, every physical sample you cut represents a cost not just in money and time, but in your brand’s sustainability footprint. The weekly cycle of shipping, reviewing, and discarding near-miss prototypes is a massive drain. It’s time to end that expense. This guide is your blueprint for achieving maximum creative velocity with minimum waste. We're going beyond simple visualization to show you how a clothing mockup generator acts as the central engine of a new, cost-efficient pipeline. We’ll walk through the entire end-to-end process: prepping your assets (which includes superior AI-generated textures), mastering the core creation steps, and integrating these powerful visuals into your design reviews and e-commerce strategy. It’s a complete blueprint for shifting your team to a modern, digital-first workflow.

Shift your workflow: Why use a clothing mockup generator?
The endless cycle of physical samples is a known bottleneck. It’s slow, expensive, and generates a staggering amount of waste. You tweak a design, send it off, wait weeks, and get back a sample that’s almost right. So you do it again. A clothing mockup generator breaks that cycle entirely.
It’s not just about creating pretty JPEGs. It’s about fundamentally changing how you design.
Move from physical samples to rapid digital iterations
Think about the lead time for a single physical sample: materials, shipping, and production can stretch on for weeks. With a digital mockup, you can visualize that same design in minutes. This isn't just an incremental improvement; it's a strategic shift. You can test a dozen colorways, graphic placements, or even entirely different concepts in a single afternoon.
This speed directly fuels creativity and reduces risk. Bad ideas are discarded instantly, without costing a dime in materials. Good ideas are refined and perfected at a pace that physical prototyping can’t match. And for teams focused on sustainability, the benefits are clear: you’re cutting down on textile waste and the carbon footprint associated with shipping samples back and forth. It’s a win for your timeline and the planet.
Improve design communication and team alignment
How many times has a design been misinterpreted from a flat sketch? A mockup serves as the single source of truth. It’s a high-fidelity preview of the final product that everyone, from designers and pattern makers to marketers and leadership, can see and understand.
This visual clarity is everything. When you present a photorealistic mockup, you’re not just showing a design; you’re showing intent. The conversation shifts from “What will this look like?” to “Is this the right look?” This simple change accelerates feedback loops and gets you to approval faster. It aligns the entire team around a shared vision before a single yard of fabric is ever cut.
But before you can reap these benefits, you need to get your assets in order. It starts with choosing the right canvas for your work.
Prepare your assets for digital visualization
The final quality of your fashion design visualization depends entirely on the quality of your inputs. A brilliant design on a sloppy template will always look amateur. Prepping your assets isn't a chore, it’s the professional groundwork that ensures a polished result.
Select the right mockup style for your brand
Not all mockups are created equal. The style you choose should directly support the story you’re trying to tell. Let's unpack the three most common types:
- Flat lay mockups: These are garments laid flat, often styled with accessories. They offer a clean, minimalist look that’s perfect for e-commerce category pages and highlighting specific product details without distraction. Think of them as the blueprint, clear, direct, and informational.
- On-model mockups: This is where you sell the lifestyle. An on-model shot shows how the garment fits, drapes, and moves with the human form. It creates an emotional connection and helps customers envision themselves wearing the product. Use these for lookbooks, social media campaigns, and homepage hero images.
- Ghost mannequin mockups: Also known as an invisible mannequin, this style offers the best of both worlds. It shows the garment's 3D shape and structure as if worn, but without the distraction of a model. This gives products a professional, uniform look that’s ideal for product detail pages where the focus needs to be 100% on the garment itself.
Ready your design files and product details
Once you’ve chosen a style, it's time to prep your artwork. For your design files, always start with the highest resolution possible. A transparent PNG is the gold standard for graphics because it ensures you don't get a clunky white box around your artwork. If your design is vector-based (created in Adobe Illustrator), even better, it can be scaled to any size without losing quality. Save it as a high-res PNG for the mockup tool.
But it goes beyond the graphic itself. A true digital clothing presentation requires defining the product’s DNA beforehand. This means having your specific colorways (as Pantone or hex codes) and placement guides ready. Knowing that a logo should be exactly three inches below the collarbone saves you from endless tweaking later. This prep work streamlines the entire process.
The most critical component for realism is the fabric texture file. While color codes are essential, a generic fabric swatch will make your 3D mockup look flat. This is where an AI Texture Generator becomes indispensable. Instead of relying on a limited library, Texturly allows you to generate a custom, high-resolution, seamless PBR (Physically Based Rendering) texture map for any fabric imaginable, from a specific tweed weave to a custom metallic foil. By starting with a superior texture from Texturly, you ensure that the final mockup image will have the authentic weave, drape, and detail needed to be indistinguishable from a physical photo.
With your assets prepped and your strategy clear, you’re ready to bring your vision to life. Let’s walk through the core process, step-by-step.
The core process: A step-by-step guide to clothing mockup creation
This is where the magic happens. A good clothing mockup generator turns a complex process into a few simple, repeatable steps. Here’s the workflow we’ve found to be the fastest and most effective for creating professional results.
Step 1: Choose a high-quality apparel template
Your template is your stage. A cheap, poorly lit template will make even a brilliant design look flat and uninspired. Look for templates with realistic details: natural fabric wrinkles, authentic lighting, and soft shadows. These subtle cues are what trick the eye into believing it’s a real photograph. The template should match not only your garment type but also your brand’s aesthetic, whether that’s bright and clean or gritty and atmospheric.
Step 2: Upload and position your design artwork
Most generators make this part easy, often with a drag-and-drop interface or a smart object layer in Photoshop. The key here isn't just placing the art, but positioning it with intent. A center-chest graphic on a t-shirt has a different feel than a small logo on the left chest. An all-over print on a hoodie needs to feel balanced. Use the mockup tool's guides to ensure your alignment is perfect. Take a moment to zoom out and check the scale. Does the graphic feel appropriately sized for the garment?
Step 3: Customize garment details for realism
This is the step most people rush, but it’s what separates a good mockup from a great one. First, adjust the garment's base color to match your exact colorway. Don’t just eyeball it; use the specific hex or Pantone code.
Next, pay attention to texture. Many premium mockup tools allow you to add or enhance fabric textures. To get the most out of this step, we strongly recommend using a texture generated by an AI tool like Texturly. The output from an AI Texture Generator provides the necessary detail layers, including a Displacement map, an Albedo Map, and a Normal Map.
The most critical tool for realism is the displacement map. Think of it this way: a displacement map makes your flat design intelligently “wrap” around the wrinkles, folds, and seams of the fabric. It bends the artwork to the contours of the shirt. This single step prevents your design from looking like a flat sticker and instead makes it look like it was authentically printed on the garment.
Step 4: Export your final product-ready assets
Your mockup is done. Now, export it for its final destination. For most digital uses, e-commerce sites, lookbooks, and social media, a high-resolution JPG or PNG is the way to go. Pay attention to the platform's requirements. Instagram posts often work best as a square (1:1 ratio) or portrait (4:5 ratio), while website banners are wide (16:9 ratio). Exporting the right size and format from the start saves you from having to crop or resize later, which can degrade the quality.
Creating a great mockup is one thing. Weaving it into your actual pipeline is where you unlock real efficiency.
Integrate mockups into your design and sales pipeline
A mockup isn't the finish line. It's a versatile asset that should be leveraged at every stage of your workflow, from internal reviews to the final sale. This is using mockup generators to showcase clothing designs as a strategic tool, not just a presentation trick.
Use mockups for internal design reviews and tech packs
Instead of relying on flat sketches and vague notes, use your high-fidelity mockups as the centerpiece for internal feedback. They provide a clear, unambiguous picture that reduces revision cycles. The conversation becomes more productive because everyone is looking at the same realistic vision.
Take it a step further by annotating these mockups for your tech packs. Add callouts specifying print techniques (e.g., screen print, embroidery), placement measurements, and color codes. This visual guide complements the technical specifications, giving your manufacturing partners a much clearer understanding of your intent. The result? Fewer sampling errors and a faster path to production.
Create compelling product visuals for marketing and e-commerce
Here’s where design connects directly to revenue. The same mockups used for internal review become powerful assets for your marketing and sales teams. You can launch an entire product line visually before a single item has been produced. This allows you to gauge interest, run pre-order campaigns, and generate buzz while the physical products are still in production.
Plug these assets directly into your e-commerce store listings, social media campaigns, and email newsletters. Because the visuals are consistent and professional, they build brand trust and help customers make purchasing decisions with confidence. You’re no longer waiting for a photoshoot to start selling; you’re selling from the moment the design is approved.
Now that you see the strategic value, the next logical question is which tool to use. Let’s break down what to look for.
Select the best clothing mockup generator for your team
Choosing the right tool is less about finding the best one and more about finding the best fit for your team’s skills, budget, and workflow. A powerful tool that no one adopts is useless.
What are the key features to look for in a mockup generator?
As you evaluate your options, here’s a checklist of what really matters:
- A large, high-quality template library: The platform should offer a wide variety of garments, styles, and models that align with your brand. Quality trumps quantity. Look for realistic lighting and textures.
- Deep customization options: You need control beyond just placing a graphic. Look for features like color customization, texture overlays, and most importantly, displacement maps for realism.
- High-resolution exports: Your mockups will be used for everything from web to print. The ability to export at 300 DPI or in resolutions over 4K is non-negotiable for professional work.
- Team collaboration tools: For larger teams, look for features that allow multiple users to share projects, templates, and asset libraries. This keeps everyone aligned and working efficiently.
- Intuitive user interface: The tool should be easy enough for both designers and marketers to use. A steep learning curve can kill adoption before it even starts.
Compare top fashion design software and mockup tools
Mockup creation platforms generally fall into three categories. Here’s a quick, non-biased look at the landscape:
- Browser-based generators (e.g., Placeit, Vexels): These are built for speed and simplicity. They offer huge libraries and an incredibly easy-to-use interface, making them perfect for marketing teams or designers who need to create visuals quickly. The trade-off is often less granular control over details like lighting and shadows.
- Photoshop-based templates (e.g., from Creative Market, independent creators): These are downloadable PSD files that use smart objects and layers. They offer the highest degree of creative control and realism, allowing you to tweak every shadow, highlight, and texture. This is the best option for experienced designers who are comfortable in Photoshop and need pixel-perfect results.
- 3D design software (e.g., CLO 3D, Browzwear): This is the most advanced frontier of digital clothing design tools. Instead of applying a flat image to a photo, you’re creating a true 3D digital twin of your garment. The realism is unparalleled, and it integrates directly into the pattern-making and manufacturing process. The learning curve is steep and the software is expensive, but for enterprises focused on building a fully digital pipeline, this is the future.
It’s more than a mockup, it’s your new workflow
We started with a familiar problem: the slow, expensive, and wasteful cycle of physical samples. By now, it’s clear that a clothing mockup generator isn’t just a shortcut around that process; it’s the first step in replacing it entirely.
Think of the mockup not as the final picture, but as the central hub of a smarter pipeline. It’s the asset that aligns your design, manufacturing, and marketing teams around a single source of truth before a single yard of fabric is cut. It’s the tool that lets you kill bad ideas in minutes and perfect good ones in hours, not weeks. But every great mockup starts with a perfect material. By integrating an AI Texture Generator into your asset prep, you guarantee that your final product visual is the highest quality possible.
This isn’t just about making your current process a little faster. It’s about unlocking a fundamentally different way to work. One where you can test, validate, and even market a new collection while your competitors are still waiting for their first samples to arrive. You have the blueprint. Now go build that future.

Mira Kapoor
Mira leads marketing at Texturly, combining creative intuition with data-savvy strategy. With a background in design and a decade of experience shaping stories for creative tech brands, Mira brings the perfect blend of strategy and soul to every campaign. She believes great marketing isn’t about selling—it’s about sparking curiosity and building community.
Latest Blogs

Your Skybox Is Wearing Thin: How 360 Textures Became the Engine
AI in 3D design
3D textures

Max Calder
Nov 28, 2025

More Than Skin Deep: How Facade Textures Drive Building Performan...
Industry trends
Texture creation

Mira Kapoor
Nov 26, 2025

From Pixelated Mess to Polished AR: Debug ARKit Texture Generator...
AI in 3D design
Texture creation

Max Calder
Nov 24, 2025
