Mastering Minecraft PBR: The Ultimate Step-by-Step Guide for Java & Bedrock
By Max Calder | 6 April 2026 | 10 mins read
Table of contents
Table of Contents
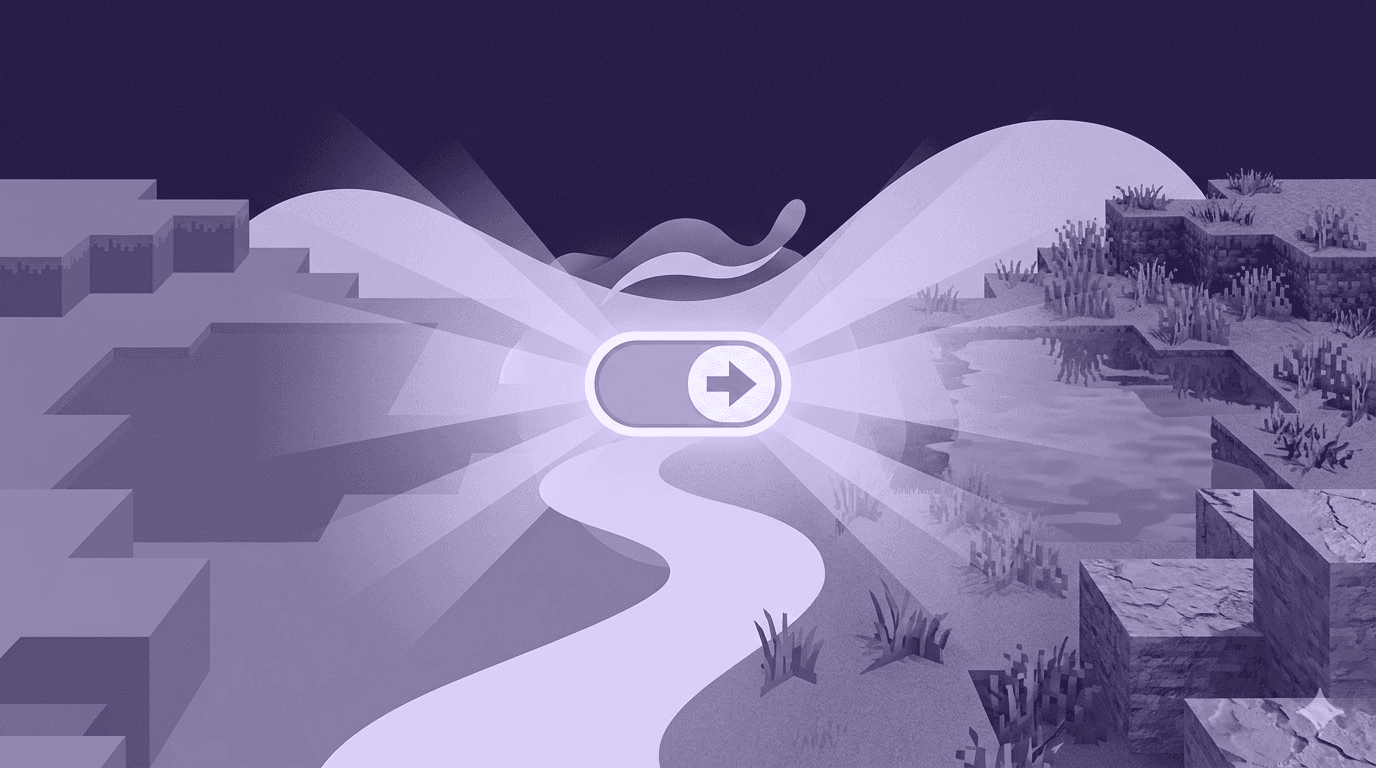
For years, Minecraft was defined by its aesthetic limitations, chunky 16x16 pixel textures, and flat, baked-in lighting. But for the modern environment artist or digital designer, Minecraft has evolved into something far more potent: a real-time, low-fidelity prototyping engine. By enabling Physically Based Rendering (PBR), we move past the cartoon look and enter a realm where surfaces react to light with scientific accuracy.
In this guide, we aren't just looking for prettier graphics. We are looking for material fidelity. We want to see the specular highlight on a rain-slicked cobblestone street, the subtle subsurface scattering of light through ice, and the metallic luster of polished ores. Whether you are using the Java Edition for its deep community-driven shader customizability or Bedrock for its native NVIDIA RTX integration, the goal is the same: to turn a world of blocks into a sophisticated material study.
Pre-flight checklist: Hardware and versioning
Before we dive into the installation, we must address the technical barrier to entry. PBR in Minecraft isn't just a texture swap; it’s a fundamental change in how your GPU calculates light.
The hardware demand
To run PBR effectively, especially when coupled with Ray Tracing (RTX) or Path Tracing shaders, you’ll need:
- GPU: For Bedrock RTX, an NVIDIA GeForce RTX 2060 or higher is required. For Java Edition PBR shaders, an NVIDIA GTX 1080 Ti or any modern RTX/AMD equivalent is recommended to maintain a stable 60 FPS.
- Memory: At least 16GB of RAM, with at least 4GB to 6GB dedicated specifically to the Minecraft instance via launcher settings.
Choosing your platform
- Java edition: The Professional’s Choice. It offers more granular control over shader settings, allows for higher-resolution textures (up to 1024x), and supports the LabPBR standard, which is the industry favorite for custom material mapping.
- Bedrock edition: The Efficiency Choice. If you have an RTX card, this offers native support with the least amount of tinkering. However, it is more restrictive regarding custom resource pack integration.
Enabling PBR in Minecraft Java Edition
Java Edition requires a few middleware components to bridge the gap between the game’s old engine and modern PBR standards.
Step 1: Installing the shader loader
Minecraft Java cannot read PBR maps out of the box. You need a mod to handle the rendering pipeline.
- Download fabric: This is the modern, lightweight mod loader.
- Install iris shaders: Unlike the older OptiFine, Iris is optimized for modern GPUs and offers significantly better performance for PBR-heavy scenes.
Step 2: Selecting a PBR shader
The shader is the "brain" that calculates the light. Not all shaders support PBR. You must choose one that supports the LabPBR or OldPBR standard.
- Complementary reimagined: The gold standard for balance between performance and realism.
- SEUS PTGI (Path Traced Global Illumination): The pinnacle of realism, simulating light rays for near-perfect shadows and reflections.
Step 3: Installing the resource pack
This is where your actual PBR textures live. A PBR resource pack contains the Normal maps (for depth) and Specular/Roughness maps (for shine).
- Recommendations: Patrix, Stratum, or Realistico.
- Installation: Drop the .zip file into the resourcepacks folder in your .minecraft directory. In-game, move it to the "Selected" column.
Step 4: Configuration
Once the shader and pack are active, go to Shader Options > Materials. Ensure that "PBR Support" is enabled and the "PBR Format" matches your pack (usually LabPBR 1.3).
Enabling PBR in Minecraft Bedrock Edition (RTX)
If you are on Windows 10/11 with an RTX card, the process is more streamlined but requires specific file types (.mcpack).
Step 1: The RTX world check
The simplest way to see PBR in Bedrock is to download an "RTX Showcase" world from the Minecraft Marketplace. These come with PBR textures pre-baked into the world files.
Step 2: Side-loading custom PBR packs
To use PBR in your own creative builds:
- Acquire an RTX-ready pack: Look for packs like Defined PBR or Kelly’s RTX.
- Import: Double-click the .mcpack file; Minecraft will automatically import it.
- Activation: Go to Settings > Global Resources and activate the pack.
- The toggle: In a world, ensure Ray Tracing is toggled 'On' in the Video settings (Shortcut: ;).
Deep dive: The PBR workflow in Minecraft
To truly master the visuals, you need to understand how Minecraft reads your maps. Unlike a standard texture that only has a Color (Albedo) file, a PBR block uses a multi-channel approach.
The "MER" map (bedrock standard)
In Bedrock RTX, the PBR data is often packed into a single texture where:
- Red channel: Metallic (How much like metal is it?)
- Green channel: Emissive (Does the block glow?)
- Blue channel: Roughness (Is it matte or mirror-like?)
The LabPBR standard (Java)
Java shaders use a more complex system, often separating Normal maps from Specular maps. This allows for Height Mapping (Parallax Occlusion Mapping), which gives the illusion of 3D depth. When you look at a brick wall at an angle in Java PBR, the bricks will actually appear to stick out further than the mortar; this is the "Height" map at work.
Troubleshooting and optimization
My blocks look flat, or my game is a slideshow; these are the two most common issues.
- Issue: no depth. Check if "Parallax Occlusion Mapping" is enabled in your Shader Options. If your GPU is struggling, reduce the "Parallax Depth" value.
- Issue: low FPS. PBR is VRAM-intensive. If you are using a 512x resolution pack, your GPU is loading 512 pixels of data for every map (Albedo, Normal, Specular). Pro Tip: Downscale to a 128x pack. For prototyping, the material behavior is more important than the raw pixel count.
- Issue: light leaks. Ensure your "Shadow Map Resolution" in shader settings is at least 2048. This prevents light from "bleeding" through thin walls.
Professional applications: Beyond gaming
Why go through this effort? For environment designers, Minecraft + PBR offers a unique Rapid Iteration Pipeline.
- Block-out: Use Minecraft’s intuitive building mechanics to block out a scale architectural model.
- Material Study: Apply PBR packs to see how sun angles (Global Illumination) interact with different surfaces throughout a simulated day/night cycle.
- Visualization: Use high-end shaders like SEUS PTGI to capture screenshots or cinematic fly-throughs that look like professional 3D renders, but were created in a fraction of the time.
Realism unlocked: Your new creative frontier
Enabling PBR in Minecraft transforms the platform from a simple sandbox into a sophisticated visualization engine. By following the steps for either Java or Bedrock, you've bridged the gap between low-poly voxels and high-fidelity material physics.
As you integrate this into your workflow, remember that PBR is about the interaction of elements. The way a torch reflects off a golden block or how shadows soften in a dense forest isn't just "eye candy"; it's a digital narrative. You now have the roadmap; it's time to build worlds that aren't just seen, but truly felt.

Max Calder
Max Calder is a creative technologist at Texturly. He specializes in material workflows, lighting, and rendering, but what drives him is enhancing creative workflows using technology. Whether he's writing about shader logic or exploring the art behind great textures, Max brings a thoughtful, hands-on perspective shaped by years in the industry. His favorite kind of learning? Collaborative, curious, and always rooted in real-world projects.
Latest Blogs
The Indie Dev Guide to CC0 PBR Textures: Stop Searching, Start Cr...
PBR textures
AI in 3D design

Mira Kapoor
Jul 10, 2026
Sourcing Free Game Textures: Navigating PBR Pipelines and Stylize...
PBR textures
Game textures
Mira Kapoor
Jul 6, 2026
Sculpting with Sunlight: The Architectural Physics of Facade Text...
Texture creation
AI in 3D design

Max Calder
Jul 1, 2026

Accelerate you workflow
with automated PBR texture generation
Enjoy creative freedom with AI powered texture creation
 Texturly
Copyright © 2026 Texturly, Asha Technology Labs Pvt. Ltd. All rights reserved